Rosie, 34, an accountant in Leeds, messaged me the morning after her first go with fake tan. "Kristina, I have brown knees, brown elbows, and a streak down my back that I can't see but my boyfriend describes as 'artistic'. Please tell me it's fixable." It's fixable. More to the point — it was preventable. The problem with self-tanner is almost never the product. It's the application.
Mid-June, a few weeks before the summer holiday, is when the bottles come out of the bathroom cabinet — and the disasters come with them. A streak-free tan comes down to three moves — skin exfoliated the day before, a mitt applied zone by zone, and joints diluted.
One thing first, because it matters more than everything else here: a fake tan is not sun protection. Cancer Research UK's page on fake tan puts it plainly — having a fake or natural tan does not protect your skin from UV radiation. The same page is reassuring on the other side of the coin: using fake tan and spray tans does not cause cancer, and it's a safer way to look tanned than sunbathing or sunbeds. So the bottle can replace the sunbed, never the sunscreen.
It's a very British blind spot. When the British Association of Dermatologists surveyed UK dermatologists in 2018, 84 per cent said people in the UK have an unhealthy relationship with tanning. If a bottle gets you the holiday glow without the burn, good. Just keep the SPF in the beach bag, and the complete guide to choosing and applying sunscreen covers which one and how much.
How self-tanner works: the chemistry in two minutes
Self-tanner doesn't tan you: its DHA stains the dead cells on the surface, so the thicker skin on knees and elbows goes darker.
The active ingredient in most self-tanners is DHA (dihydroxyacetone), a simple sugar (yes, a sugar). On your skin, it reacts with the amino acids in the proteins of the stratum corneum — the layer of dead cells that forms the surface. The EU Scientific Committee on Consumer Safety's opinion on dihydroxyacetone describes a process similar to the Maillard reaction (the one that browns the crust on your toast). It produces brown pigments called melanoidins.
So this isn't a real tan, which relies on melanin produced in response to UV. It's a surface colour. According to DermNet's page on dihydroxyacetone, colour starts to show around an hour after application, peaks between 8 and 24 hours, and usually lasts three to ten days. It leaves with the dead cells as they shed.
What explains the problem zones:
- Where skin is thicker (elbows, knees, ankles, heels), there's more surface layer to react, so colour goes darker
- Folds and enlarged pores trap product unevenly
- Dry, flaky patches lose colour in blotches, because the colour leaves with the flakes
Which self-tanner format to choose
From one format to the next, what really changes is the margin for error: some forgive a clumsy stroke, others don't. Here's what each format asks of you, and who it suits.
Self-tanning mousse
Airy texture, quick-drying, easy with a mitt. Colour is often intense, and many mousses contain a guide colour that shows where you've already been — handy for not missing a stripe down your calf. Best when you want visible colour fast.
Lotion
A runnier texture that spreads evenly and forgives beginners. Gradual lotions contain little DHA and build colour day by day: the SCCS file quotes levels of 1 to 2% in moisturising skincare, against 3 to 10% in standard self-tanners depending on the skin tone they're made for. Good for dry skin that wants moisture at the same time.
Self-tanning oil
Luxurious, comfortable, a glowy bronze finish. Harder to control — it slides, and one drop too many shows. Keep it for dry skin and hands that have had some practice.
Drops and mists
Drops mix into your moisturiser, and the result stays natural and gradual. It's the safest format to start with or to top up an existing tan. A mist sprays on, which sounds easy, but you inevitably breathe some in, and DermNet notes that inhaled DHA can irritate the airways, which is why mists are off my list.
Express self-tanner
A formula designed to develop quickly, with a cosmetic bronzer that gives instant colour. You rinse off after the time on the label, longer or shorter depending on how deep you want to go. Convenient — but every mistake shows up faster too.
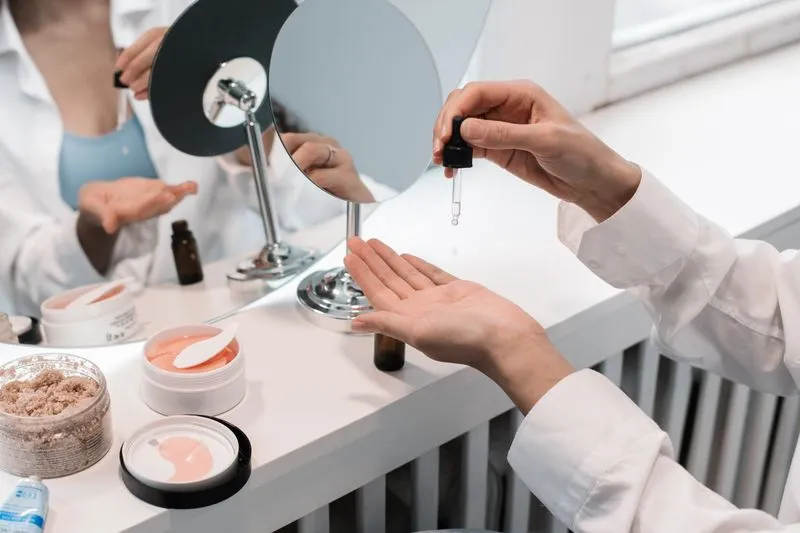
Step 1: preparing your skin the day before — where it all happens
Skip the scrub the day before and streaks are close to guaranteed, especially on knees and ankles (the two zones everyone gets wrong).
The day before: exfoliate, shave, wax
This is the most important step. The fake tan tips Which? published with its 2024 test put it the same way: exfoliate the day before, because tan clings to unexfoliated patches and gives a streaky finish, and do any shaving or waxing at the same time. A full-body scrub in the shower, with extra time on the thick-skinned spots — elbows, knees, ankles, heels.
Physical scrub (kessa mitt, salt, sugar) or chemical exfoliant with AHAs or BHAs: both work. If you're not sure which suits you, the complete guide to body exfoliation compares the methods and how often to use them. Heels grab colour more than anywhere else, so start on them earlier: the cracked heels and dry feet routine before sandal season runs over several weeks — and it pays off twice this summer.
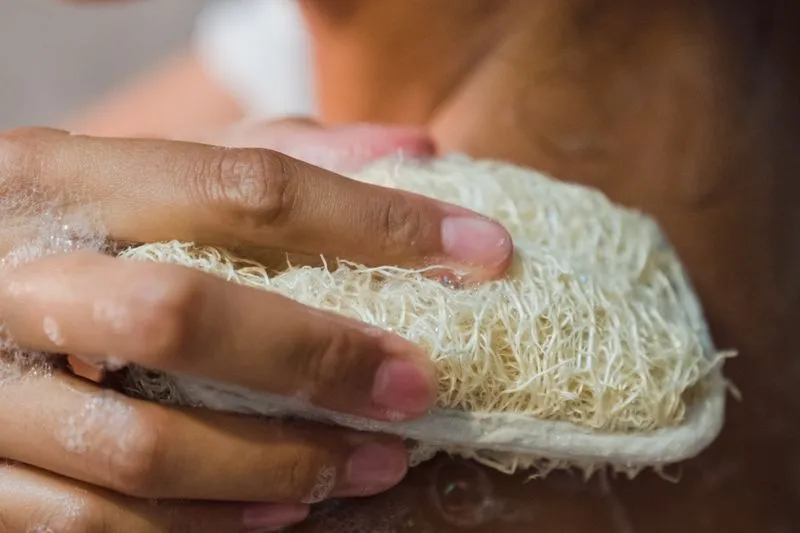
On the day: clean, dry skin and moisturised joints
On the day, dry yourself thoroughly after showering — damp skin makes product slide and leaves streaks. No rich cream, oil or deodorant on the areas you're tanning, because any film between skin and product makes the colour patchy.
One exception: just before you apply, smooth a thin layer of light, non-greasy moisturiser over the areas that drink too much. Which? singles out knees and ankles as the drier spots (I add elbows, wrists, and the tops of hands and feet). That thin layer dilutes the DHA there and stops those areas going darker than the rest.
Step 2: applying self-tanner zone by zone
The essential tool: a tanning mitt
A proper self-tan mitt is non-negotiable. It:
- protects your palms, which grab colour first and turn orange
- spreads without fingermarks
- controls how much goes on each area
No mitt to hand? Soap after every section — no exceptions. The American Academy of Dermatology gives the same advice: work in sections (arms, then legs, then torso), wash your hands with soap and water after each one, lightly extend the tan from wrists to hands and ankles to feet, and dilute it over knees, ankles and elbows.
The application technique
- Put the mitt on
- Add two or three pumps of mousse (or a small blob of lotion)
- Spread in large, even circles
- On big areas (legs, back), use long, continuous strokes without going over the same spot ten times
- Reload the mitt between each large zone, never for feet or hands
Zone order, bottom to top
- Ankles and shins
- Calves
- Knees (a light, well-blended layer)
- Thighs
- Bottom and lower back
- Stomach
- Sides
- Arms (wrist to shoulder)
- Décolletage and neck (a very light layer)
- Tops of feet and backs of hands (with what's left on the mitt)
- Face, with its own technique: a few drops in your moisturiser, or a pea-sized amount blended with your fingers
The self-tanner problem zones, and how to get them right
Knees
The worst zone — the skin is thicker, and the crease collects product. The technique:
- Leg straight (never with the knee bent)
- A very light layer — half what you use on the rest of the leg
- Blend firmly with the mitt to lift the excess
- Finish with an almost-dry mitt over the knee
Elbows
Same logic as knees — thick skin, a crease. Arm straight, light layer, almost-dry mitt to finish.
Ankles and feet
A graduated application — lighter the further down you go. Normal layer on the ankle, a veil on the top of the foot, and a few taps of a nearly empty mitt on the toes.
Underarms
The zone everyone forgets — until you reach up to grab a bag from the overhead locker on the flight out. Very light layer, no rubbing, and let it dry with your arm raised.
Back
Hard to reach on your own. The options: a long-handled back applicator, or help from someone (ideally more precise than Rosie's "artistic" boyfriend). Solo, some people spray a mist over their back, but an even result is tricky, and you breathe in the cloud on the way.
Step 3: making your self-tan last
A well-applied tan lasts several days, but it fades unevenly if you don't look after it. Anything that speeds up the shedding of dead cells also speeds up the end of your colour — that's the rule to keep in mind.
Moisturise every day
Moisturised skin flakes less, so the colour leaves more evenly. Dry skin sheds in patches — and by day four you look like a giraffe.
Put your AHA products (glycolic, lactic acid) aside while you want to keep the colour — a chemical exfoliant speeds up exactly what you're trying to slow down.
Short, lukewarm showers
Friction takes colour off faster — the SCCS opinion notes that it only fades through mechanical abrasion or the skin's natural exfoliation. So, a short, lukewarm shower, no scrubbing mitt, and pat dry with the towel (no rubbing). Very hot water dries skin out too, and what dermatology says about hot and cold water on your skin applies to your body as much as your face.
Topping up gradually
After four or five days, depending on how deep you like it, you can add a light layer (no need to exfoliate if the skin still looks even). If some areas have started to fade unevenly, exfoliate just those first, then top up.
Fixing a fake tan gone wrong: what to do when it's too late
Even with good technique, things can go sideways. The logic is always the same — the colour lives in dead cells, so you remove dead cells. Gently.
Dark patches on knees or elbows
A warm bath (around twenty minutes) to soften the skin, then targeted scrubbing with a damp kessa mitt. Repeat the next day if needed, without going at it too hard — skin rubbed raw is no improvement on a brown knee.
Orange hands
Prevention is soap straight after applying. If the colour has already taken: scrub your palms and between your fingers, then moisturise. And next time — the mitt.
Streaks and lines
Bath, then targeted exfoliation. For a light streak, an AHA exfoliant on the area can soften the contrast, following the timing on the label. For a strong streak, patience is still the safest method — the colour goes by itself within three to ten days.
Bright orange, too-intense product
Wait it out, or speed things up with a bath, a scrub and an exfoliating lotion. (Next time, go a shade lighter or switch to a gradual lotion.)
Self-tanner on your face: a different approach
Facial skin is finer than the skin on your legs — and it shows everything. In my experience, blackheads are the catch nobody mentions on the shelf: they hold on to extra colour and stand out after you apply. If your T-zone has a few, deal with them first or use a very diluted format.
The drops method
Add two or three drops of liquid self-tanner to your usual moisturiser, mix in the palm of your hand, and apply like a normal cream. The result is a gradual glow with no risk of overdoing it. It's the same idea as my early-summer foundation trick — a drop of liquid bronzer in my winter foundation.
If you're using mousse or lotion
- Apply to moisturised skin, after your cream
- A pea-sized amount (no more)
- Blend with your fingers, not the mitt, in circular movements
- Fade it out towards the temples, ears and neck to avoid lines
- Keep clear of the eye area and lips
The tricky spots on your face
- Eyebrows: product clings to them — and darkens them. Run a damp cotton bud over them straight after applying, and keep the product away from your eyes: DermNet notes that DHA can irritate the eyes and airways when it's inhaled or touches mucous membranes.
- Hairline: fade the product out, or a line appears across your forehead
- Ears: a light touch on the lobe, not inside
Which self-tanner to choose for the result you want
Price matters much less than shade and format. Which?'s May 2024 fake tan test makes the point neatly. It bought ten top-selling instant and gradual tans in March 2024, and six testers with a range of skin tones wore them for a week. The Great Value pick was Dove DermaSpa Summer Revived Self Tanning Body Lotion at £8.75, which beat pricier names such as Bondi Sands Self Tan Foam at £17.49. It even looked better at the end of the week than St.Tropez Self Tan Classic Bronzing Mousse at £32, although the testers rated the St.Tropez higher overall.
The same test shows the trade-offs that never make it onto the label. The Dove lotion's scent was noticeably stronger than most and lingered on the skin. Bondi Sands was the only tan where some testers saw the guide colour transfer onto their clothes. So read reviews for smell and transfer, not just colour.
Shade first
Which?'s fair-skinned testers did best with light or light/medium formulas. Fair skin with an olive undertone may need medium or dark to see any difference, and medium or dark skin tones should go for dark or extra dark where available. Undertone matters as well. If you don't know whether yours is warm or cool, the at-home colour analysis test tells you in a few minutes. Mine is cool — which is exactly why I steer clear of formulas that pull coppery.
For beginners: gradual lotion or drops
A gradual lotion goes on like a moisturiser, daily or every other day, and the colour builds slowly. Which? suggests the same approach for first-timers: a light layer, then build it up over the week once you can see the colour developing. It's the most forgiving format — a missed patch one day gets fixed the next.
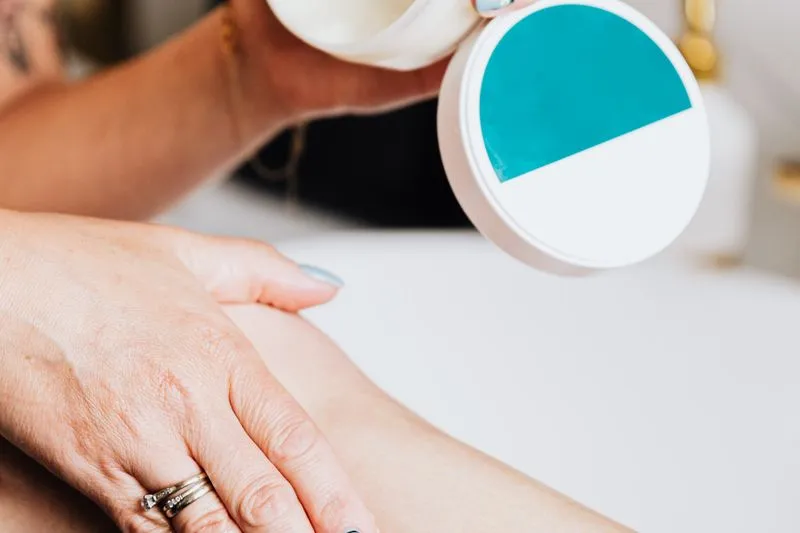
For fast results: mousse
Classic or express mousse, applied with a mitt, for colour you can see the next day. Save it for a day when you have time on your hands (not the night before an early flight).
My takeaway: a cream, lotion or mousse rather than a mist, and a lightly fragranced formula if your skin reacts easily. Always patch-test a new product on a small area (the inside of your wrist, say) before covering yourself from head to toe.
Frequently asked questions
How long does self-tanner last?
Usually three to ten days according to DermNet, with colour peaking 8 to 24 hours after application. How long yours lasts depends on the product, your skin and your aftercare: daily moisturiser, short showers, no scrubbing. Dry skin that flakes loses colour sooner, and in patches.
Can you put sunscreen over self-tanner?
Yes — and you should. Self-tanner colours dead skin cells but does nothing to melanin, so without a UV filter it protects you from nothing. Cancer Research UK is clear that a tan, fake or natural, doesn't protect your skin from UV. Apply your usual SPF 30 or higher over the top, and reapply as normal.
Is self-tanner safe?
As a cream, lotion or mousse, yes. Cancer Research UK says fake tan products containing DHA are not a health risk, relying on the EU's Scientific Committee on Consumer Safety, whose opinion concluded that DHA poses no risk to consumers' health at up to 10% in a self-tanning cosmetic. The caveats are about spraying. DermNet notes that DHA has been shown to irritate the airways and eyes if inhaled or in contact with mucous membranes. My choice — no mist, no booth.
Can you swim with fake tan on?
Yes — once the colour has developed. DermNet puts the peak at 8 to 24 hours after application, so wait at least 8 hours, ideally until the next day, before diving in. After that, swim as normal. Water and the rubbing of swimwear and towels speed up fading, so just plan to top up a little sooner.
Are patchy knees and elbows normal?
Patchy knees, elbows and ankles are very common without proper preparation. Your next application can put them right. The fix: exfoliate the day before, a light moisturiser on thick-skinned areas just before, and a thin layer plus an almost-dry mitt on the joints.
How do you reduce the fake tan smell?
The smell develops as the colour does, and some formulas smell more than others, as DermNet and the Which? testers both noticed. To keep it down, avoid sweating for the first few hours and pick your moment. Apply in the evening and most of the smell goes overnight — but your sheets may pick up colour. Which? recommends the morning for exactly that reason: less chance of staining your bedding, even if you carry the smell to work.
Can you use self-tanner when pregnant?
Ask your midwife or GP first — it's a health question, not a beauty one. What the evidence says: DHA works in the top layer of skin, and the SCCS judges it safe for consumers at up to 10% in a cosmetic, an opinion that includes a study in pregnant rats with no embryotoxic effect, but no study in pregnant women. Whatever you decide, skip mists and spray booths so you don't breathe the product in.
Does self-tanner work on very fair or very dark skin?
On very fair skin it works well, but it turns orange quickly if the shade is too dark or the layer too thick: start with a light formula in a thin layer. On darker skin the colour shows less — it mostly adds glow. If you want a visible change, Which?'s advice is dark or extra dark shades, tested first on a small patch.
Sources
- Cancer Research UK — Tanning, fake tan and Melanotan
- British Association of Dermatologists — 84 per cent of dermatologists think that Brits have an unhealthy relationship with tanning (2018)
- Which? — Dove fake tan beats big-name rivals to be crowned a Great Value buy (2024)
- SCCS (European Commission) — Opinion on dihydroxyacetone, SCCS/1347/10 (2010)
- DermNet — Dihydroxyacetone, tanning cream, sunless tanning
- DermNet — Phytophotodermatitis
- American Academy of Dermatology — How to apply self-tanner