
Monday 5 May: the Met Gala in New York. On Tuesday morning, somewhere between two Tube stops, you zoomed in to the pixel on a copper smoky eye that seemed to glow from within. That evening you typed "copper smoky eye tutorial", had a go, and the mirror handed you back a pair of panda eyes. You were missing three moves that 60-second tutorials rush through.
Red carpet make-up has a very specific brief. It has to last a whole evening under blinding lights, survive heat, the odd emotional tear and wave after wave of camera flashes. It has to look flawless from every angle, up close and from across the room. And despite all of that, it has to look "naturally perfect".
And the season is only warming up. Last night it was the BAFTA Television Awards red carpet at the Royal Festival Hall; tomorrow, the 78th Cannes Film Festival opens, running from 13 to 24 May — twelve days of red carpet photos to pick apart. This guide breaks those looks down into steps you can recreate with an ordinary make-up bag — and is upfront about what doesn't survive daylight.
Skin prep: the step everyone skips
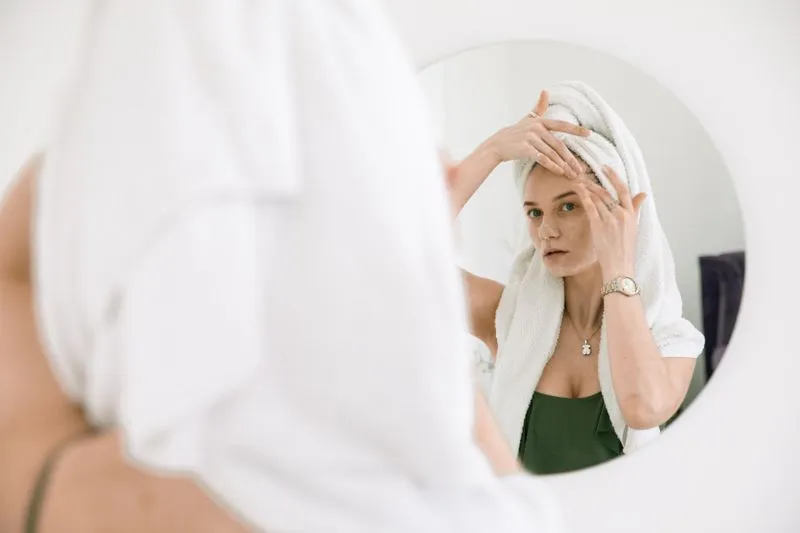
Backstage at a red carpet event, the skin gets prepped before it gets made up. That invisible step does a lot of the work — and it's the first one we rush at home.
Professional skin prep happens in stages:
Cleansing first. Even if the celebrity arrives fresh from home, the make-up artist often starts with a gentle cleanse — to remove leftover moisturiser, excess oil and anything that might stop foundation from gripping. Lukewarm water rather than hot, for the reasons we go through in our guide to the right water temperature for washing your face.
The right amount of moisture. This step is more technical than it looks: too much moisture and foundation slides. Too little and it clings to texture and fine lines. The pro answer: a lightweight moisturiser, then patience — it needs to sink in before anything else goes on.
Targeted primer. Backstage, make-up artists use several primers — each on the zone that needs it. A smoothing primer under the eyes (for fine lines), a mattifying one on the T-zone (to control shine), an illuminating one on the cheekbones (to set up the glow). Three primers for one face, at home? No. One is enough: on the T-zone if you get shiny, under the eyes if your fine lines show (yes, even though the pros use three).
Foundation: thin, layered, never dragged
Red carpet foundation is almost never applied in one layer. It's one of the most counter-intuitive things about the way professionals work.
Thin layers
Make-up artists apply foundation in several very thin layers, letting each one settle slightly before adding the next. The result: coverage that builds gradually and seems to come from the skin itself rather than sitting on top of it. Two ultra-thin layers beat one thick one.
The stippling technique
Rather than spreading foundation, you tap it onto the skin — a technique called stippling. Use a flat-top buffing brush or clean fingers and pat the foundation on in small, quick movements. It gives a "second skin" finish rather than a "made-up" one.
Concealer after foundation
On a red carpet, concealer goes AFTER foundation, not before. Why? Because once foundation is on, you can see exactly what still needs covering. You then use the smallest possible amount of concealer, precisely where it's needed — under-eye shadows, leftover redness, blemishes. It avoids the "over-made-up" look.
Powder: yes, no, how?
On the red carpets of the 2000s, everyone was powdered to the hilt, right down to the white cast under the flashbulbs. These days, make-up artists tend to go for "dewy skin" — a luminous, slightly moist-looking complexion, in line with the natural, glowing skin that leads this year's beauty trends. Powder goes only where shine appears (T-zone, sides of the nose, chin), in tiny amounts. The rest of the face stays powder-free to keep its glow.
The smoky eye: 3 moves quick tutorials rush
The smoky eye is one of the most photographed looks on the red carpet — and one of the worst taught online. Quick-fire videos fast-forward through the three moves that make the difference.
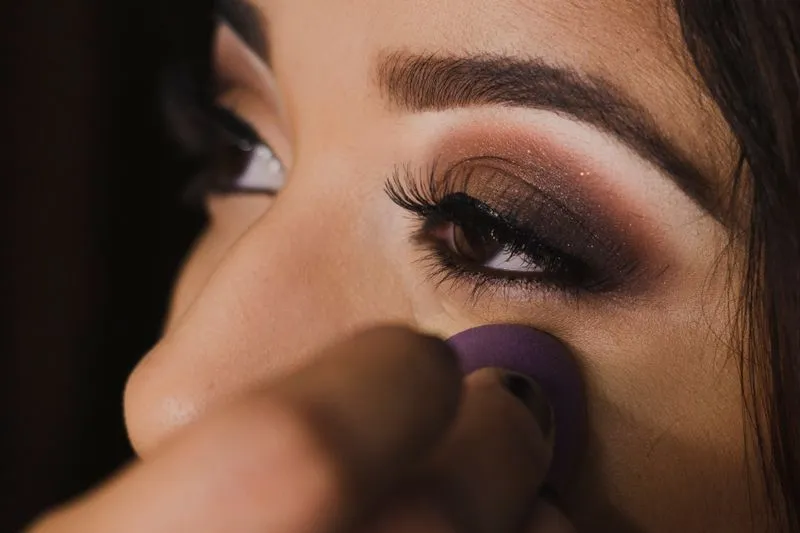
Move 1: the never-ending blend
The difference between an amateur smoky eye and a professional one often comes down to a single thing: blending time. It's the step everyone rushes, and it's the one that deserves the most patience. In my case, that's a good two minutes per eye, timed.
How to do it: always start with the lightest shades (a matte base), then build colour gradually. Blend with a fluffy tapered brush in small circular movements, WITHOUT pressing hard. Keep going back to the line between two shades until you can't tell where one ends and the other begins.
Move 2: tape for your liner
Ever tried to draw the perfect flick and ended up with a wobbly line heading in all directions? The pro trick: a piece of tape (or a folded tissue) placed under the eye, angled the way you want the flick to go, then draw your liner along that guide. The result is clean, sharp and symmetrical on both sides.
For the angle of the flick, some make-up artists even use the edge of a (clean) bank card as a ruler. Yes, really. And it works.
Move 3: shadow before pencil
Counter-intuitive but effective: for a deep smoky eye, pros start with a dark shadow (charcoal grey, espresso brown) on the lid before any pencil. The pencil then goes on top of that shadow base and gets blended out with a brush. The liner melts into the shadow instead of "sitting" on the lid, and the effect is far deeper.
Red carpet contouring: subtle but structural
The very visible contouring of the mid-2010s — obvious brown stripes, cheekbones sculpted to the extreme — is over. Today's red carpet contouring is invisible: you see the effect (a structured face), not the technique.
The textures pros prefer
Plenty of make-up artists prefer cream or liquid contour to powder. Cream formulas melt into the skin, look more natural and hold well once set with a veil of translucent powder. Shade-wise: neutral to cool, two shades deeper than your skin tone — on deep skin, a rich brown rather than a grey that turns ashy. Steer clear of orange, which quickly reads as "dirty".
Where to work
Temples: diffuse a light shadow over the temples to "hollow out" the top of the face. No defined line — just a soft fade.
Sides of the nose: if you're comfortable with the technique, a very fine shadow down each side of the nose slims it visually. Classic mistake: pressing too hard or blending too wide. Two very fine lines, well blended.
Under the cheekbones: the key zone. Suck your cheeks in slightly to find the hollow. Apply the shadow from the top of your ear towards the corner of your mouth — and stop level with the middle of your eye. Then blend upwards. Don't go below that hollow: shadow placed too low drags the whole face down.
Under the chin: a touch of shadow under the chin, blended down towards the neck. It prevents the "head floating on a body" effect, which shows up badly in flash photos.
Perfect lips: liner, fill and gloss
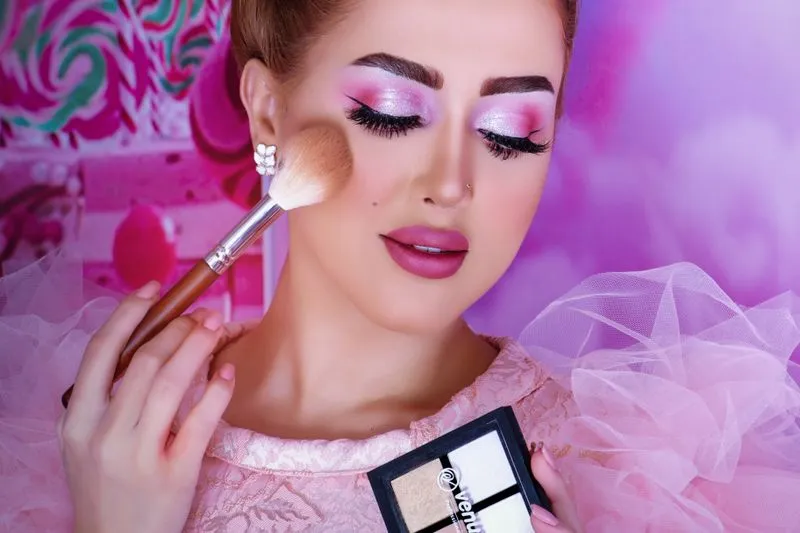
Red carpet lips — nude, deep berry or bright red — all share one thing: precision. The edges are sharp, the colour is even, and the result holds for hours.
Liner: the full-fill rule
Pick a lip liner the same shade as your lipstick (or slightly darker). The pro technique isn't tracing an outline around the edge of the lips — it's filling the lips in completely with liner. Lipstick applied on top lasts far longer, because it grips the liner's waxy base rather than bare skin or the natural moisture of the lips.
The slight overline
For lips that look fuller (nothing to do with filler): draw the liner just above your natural lip line, especially on the Cupid's bow. Then blend the inside of the line with a lip brush so it disappears. The mouth looks plumper, without the cartoonish effect of an obvious overline.
Textures for each effect
Matte red (1940s Hollywood red): apply one layer, blot with a tissue, dust very lightly with powder, reapply. This "stamps" the colour into the lips and makes it last much longer.
High shine (the liner-plus-gloss combo that took over social media): a nude lipstick or just a nude liner, then clear gloss on the lower lip only. Keep the gloss to the centre of the lower lip for a plumping effect — not on the edges, where it bleeds fast.
Satin red (the most red carpet of all): a creamy red, not matte. Blend slightly from the edges inwards for a subtle gradient. Finish with a tiny touch of gold or rosy gloss in the centre of the lips.

Long wear: from the red carpet to the after-party
Three tools keep make-up in place from the red carpet to the after-party: setting spray between layers, an eye primer and textures chosen with the flash in mind.
Setting spray as an active tool
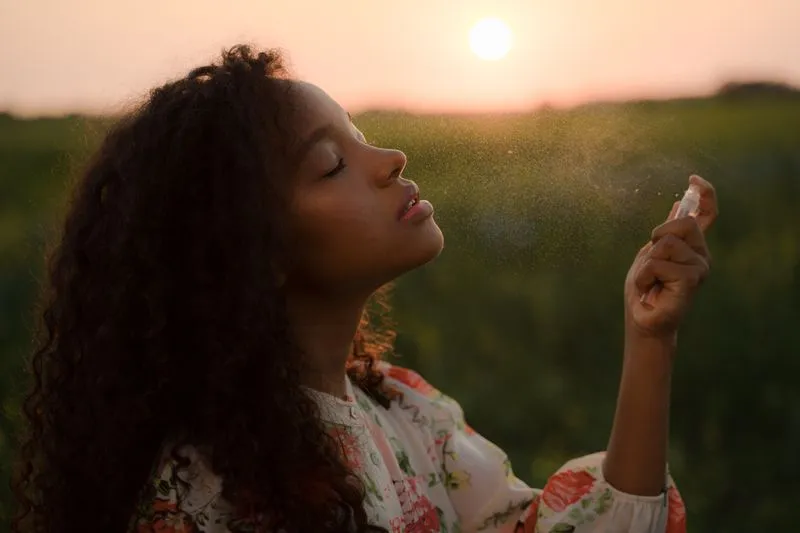
Setting spray isn't just a final step. Pros use it at several points: between foundation and powder (to fuse the layers), between eyeshadow steps (to limit fallout), and to finish. For the final mist, hold the bottle at the distance given on the pack and spray in a Z or X shape in front of your face for even coverage.
Eye primer
On a red carpet, an eyeshadow base (eye primer) is essential. Without it, shadows slide into the crease well before the end of the evening and the colour settles in unflattering lines. With it, they stay put. MAC's Paint Pot, Urban Decay's Primer Potion and Too Faced's Shadow Insurance are classics of the genre.
Thinking about the camera
On a red carpet, make-up artists know their work will be photographed under flash. They're wary of some very white powders, which can leave a pale cast in photos, and of chunky glitter, which throws out uncontrollable reflections. If glitter goes anywhere near your eyes, check it's cosmetic grade: in its advice on make-up and eye health, the College of Optometrists quotes an optometrist warning that "Glitter can irritate your eyes and may scratch the ocular surface."
Instead, they favour ultra-fine shimmers (light-reflecting pigments milled very finely), which create a natural glow in photos without a strobe effect.
The "glow from within": highlighter the pro way
That famous red carpet glow — the light that seems to come from inside the skin — isn't magic. It's three kinds of radiance, applied differently depending on the zone.
Radiance in the base
Before foundation, or mixed into it, some make-up artists add a few drops of an illuminating serum or a glowy tinted base. The foundation then has built-in radiance, without visible sparkle. Charlotte Tilbury's Hollywood Flawless Filter is a well-known example of this kind of product, worn alone or mixed with foundation.
Cream highlighter on the cheekbones
Cream highlighter, applied before powder, melts into the skin and creates a natural sheen. It goes on the tops of the cheekbones, the Cupid's bow, the tip of the nose and a touch in the centre of the lid. Best tool: the tip of your ring finger — warmth plus precision.
Powder highlighter for the camera
In high-resolution photos and under flash, cream highlighter alone can lack punch. Pros then layer a very finely milled powder highlighter over the cream, only on the tops of the cheekbones. The cream gives depth; the powder on top gives the gleam the flash picks up.
What to avoid: highlighter on the forehead, chin and bridge of the nose under strong flash or bright sunshine. Those areas already catch the light — adding more gives an overexposed look that's rarely flattering.
Red carpet make-up in daylight: what to tone down
In daylight, red carpet make-up needs toning down in four places: under-eye powder, contour, highlighter and glitter. Make-up designed for flash photography isn't designed for a beer garden at lunchtime. The flash flattens features; the midday sun picks out every texture — and what vanished in the photo shows from across the table.
What stays the same: the skin prep, the thin layers of foundation and the liner that fills the lips. For a daytime wedding or a long lunch, those three moves do most of the work.
| Step | Evening photos | Daylight |
|---|---|---|
| Under-eye powder | A short bake, two or three minutes, if your fine lines don't show | A tiny veil with a flat brush, or nothing at all |
| Contour | Temples, cheekbone hollows and under the chin, to put back the shadows the flash flattens | A light shadow under the cheekbones only, well blended |
| Highlighter | Cream, then fine powder on the tops of the cheekbones | Cream only, on the tops of the cheekbones; never on the forehead or the bridge of the nose |
| Glitter | Ultra-fine shimmer on the lid | No glitter: a satin shadow is enough |
| Setting spray | Between layers and to finish | A single mist to finish |
| Lips | Matte or satin red, liner filling the whole mouth | Gloss or satin red; a very dark matte hardens your features in full light |

Recreating red carpet make-up at home: the smart compromises
Most red carpet techniques travel very well into an ordinary make-up bag. What doesn't travel is everything else — the time, the team and the three primers.
What to keep first
Skin prep — a few minutes' wait after moisturiser, a primer only where you need it. You win those minutes back on touch-ups.
Thin layers — even with a basic foundation, two thin layers make a visible difference.
Filling the lips in with liner — it costs next to nothing, takes no longer than an outline, and your lipstick lasts far longer.
Unlimited eye blending — give your shadow blending a few extra minutes. The result changes completely.
Products worth investing in
An eye primer — the product that does the most for shadow wear, especially if you do smoky eyes often, and any Boots or Superdrug stocks a few. If yours has been lurking in a drawer for ages, look for the little open-jar symbol on the pack: under the cosmetics labelling rules in UK law (Article 19 of the Cosmetic Products Regulation), that symbol, followed by a number of months or years, shows how long the product stays safe to use once opened — and it's required on products with a minimum durability of more than 30 months.
A good setting spray — NYX's Matte Finish and MAC's Fix+ are easy-to-find favourites that make a real difference to wear.
A precise liner — a good fine-tip felt liner (Stila's Stay All Day, or a cheaper felt-tip from the Boots aisle) transforms the sharpness of a smoky eye.
And a product you already know. Never debut something new on the big night. The NHS page on contact dermatitis lists cosmetics among the products whose ingredients can trigger an allergic reaction, and advises checking the ingredients on make-up if something irritates your skin. Try anything new beforehand, on an evening that doesn't matter.
What to leave to the pros
Ultra-precise contouring with a fine brush, long baking under the eyes, layer upon layer of highlighter: these techniques need regular practice and specific tools. Mastering them at home is perfectly possible, but it takes time and repetition. Start with the techniques that make the biggest immediate difference (skin prep, lip liner, blending) and work up to the more complex ones.
Start with the three moves that change the result most: skin prep, relentless eye blending and liner that fills the lips. Last thing before you head out: perfume, sprayed from a distance and definitely not rubbed between your wrists.
Frequently asked questions
Which brushes are essential for professional-looking make-up?
Five brushes cover the essentials: a flat foundation brush (or a damp sponge for stippling), a fluffy tapered brush for blending shadow, a flat, precise brush for packing shadow onto the lid, a large powder brush for setting, and a fine brush for detail. Everything else is a nice extra. Bristle quality matters more than price: fine synthetic fibres on an affordable brush often beat coarse bristles on an expensive one. And wash them regularly.
How do you stop foundation settling into fine lines?
Three main causes: too much moisturiser just before foundation (wait until it has sunk in), a foundation that's too thick or too full-coverage (switch to a runnier formula), or too heavy a layer. The fix: a fluid foundation, applied in very thin layers, stippled (not dragged), on skin that's well hydrated but dry to the touch. Under the eyes, the same rule as everywhere: a short bake (two or three minutes) only for a night of photos. Skip it if fine lines show — powder highlights them. Long baking is for the pros.
How do you recreate the "glass skin" effect seen on red carpets?
It's a mix of prep and texture. Prep: gentle exfoliation a few days before (not the night before), a hydrating mask the evening before, a rich cream overnight. On the day: a hydrating serum, a light moisturiser, an illuminating primer. Then a fluid, satin-finish foundation (neither matte nor ultra-glossy), no powder over most of the face, and a cream highlighter on the cheekbones. The "glass" comes from even skin texture — so the prep matters more than the products.
Can you wear a smoky eye without it smudging under the eyes during the evening?
Yes, with three precautions. Eye primer before any shadow — non-negotiable. Setting spray between steps. And above all: remove any fallen shimmer from under the eye BEFORE applying foundation (with a piece of tape pressed on gently, or a clean dry brush). If shadow drops onto foundation that's already on, you can't remove it cleanly, and that residue darkens as the hours go by.
I wear contact lenses: can I still do a smoky eye?
Yes, in the right order. The College of Optometrists' advice on wearing make-up with contact lenses is to put your lenses in before you apply your make-up and take them out before you remove it. It also recommends applying eyeliner along the outer edge of the eyelid, not along the wet part that touches your eye — so skip the kohl on the waterline and smudge it along the lash line instead.
How do you make a bright red lipstick last a whole evening?
The pro method: a red liner filling the lips in completely (not just the outline). A matte or satin red lipstick on top. A tissue to blot the first layer. A very light veil of translucent powder over the lips (sounds odd, but it works). A second layer of lipstick. After eating or drinking, a quick touch-up in the centre of the lips is enough — the liner keeps the edges in place.
Do luxury products really make a difference for red carpet make-up?
It depends on the product. Foundation is where I put my money (Armani's Luminous Silk, in my case): it's what people see first, up close and in photos. High-end highlighters often have more refined textures. For most of the basic steps, though (primer, translucent powder, setting spray), affordable versions from the high street often do just as well. Invest in what people "see" (base, highlighter) and be pragmatic about everything else.
What do you do about under-eye make-up that slides?
Two main culprits: too much eye cream (the area stays slippery and concealer slides) or no setting at all. The fix: a lightweight eye cream (not a rich balm) in the morning, fully absorbed. Apply concealer, pat it in, then a tiny amount of translucent powder with a flat brush. For a night of photos, a short bake works well: leave the translucent powder to sit for two or three minutes before sweeping off the excess with a large brush — unless fine lines show under your eyes. Long baking is for the pros.
Sources
- The Metropolitan Museum of Art — The Met Unveils New Details for the 2025 Met Gala and The Costume Institute's Spring Exhibition
- BAFTA — Alan Cumming to host 2025 BAFTA Television Awards
- Festival de Cannes — Festival de Cannes 2025: accreditation is now open!
- NHS — Stye
- NHS — Contact dermatitis
- legislation.gov.uk — Regulation (EC) No 1223/2009 on cosmetic products, Article 19 (labelling)
- The College of Optometrists — Avoid a fright: advice on make-up use this Halloween
- Look After Your Eyes (The College of Optometrists) — Contact lenses