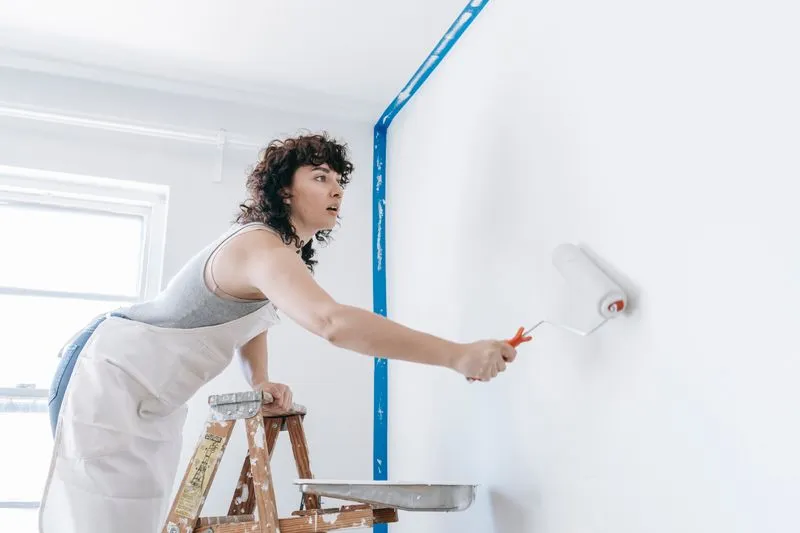
"Have you sugar-soaped them?"
The man behind the counter at the hardware shop at the end of my road had just glanced into my basket. Grey work coat, pencil behind his ear. In the basket: two tins of sage green, a roller and a tray. That's it. Without another word, he put a tub of sugar soap on top of my tin of sage. More than thirty DIY projects under my belt — shelves, an upcycled chest of drawers, three rooms repainted. I sugar-soap every chest of drawers before I paint it — yet I had never once thought of doing the same to a wall. I answered with the confidence of someone who has no idea: "They're clean, my walls." He smiled. Not unkindly. More the way you smile at someone who is about to have a very long Sunday. "Clean enough to live with, love. Not clean enough to paint."
It was a Saturday morning in early March, 9.40am, with the first proper spring sunshine bouncing off the shop window. Twenty minutes later I walked out with seven extra purchases (yes, seven). Sugar soap, filler, a sanding block, masking tape, a dust sheet, a cutting-in brush and a tin of primer. My basket had tripled, and so had my schedule: the "quick lick of paint" turned into a three-day job — spread over the whole of the following weekend. That's why my living room now looks like a magazine spread — rather than a rented flat painted in a panic the night before the check-out inspection.
A professional finish is decided before you open the tin: washing, filling, sanding, priming. My ten easy DIY weekend projects for beginners skimmed over paint; this is the whole wall, in the order I painted it in my 300 sq ft flat in Hackney (second floor, no lift — every tin carried upstairs counts), with quantities, drying times and the traps nobody mentions in the paint aisle.
Painting a room: plan three days, not one Saturday
Three days: that's what it takes to paint a room of 10 to 15 m² well. Not because the work is slow — but because drying times are in charge, and they don't negotiate, not even with a hairdryer. Washed walls need to dry, filler needs to harden, primer needs to set. You can work fast. You can't make anything dry fast.
One number to build your schedule around. Dulux's product page for its standard Dulux Matt emulsion says to "leave 2-4 hours between coats" and recommends "2" coats. Paint can feel dry to the touch well before that — and touch dry is not the same as ready to recoat. Confusing the two is how you end up with patchy walls — and paint that drags off under the roller.
Here is the schedule I followed, and the one I'd recommend for a first attempt:
- Friday evening. Clear the room, lay the dust sheets, switch the electricity off at the consumer unit while you loosen or mask the switch and socket plates, wash the walls by a battery work light, then switch the power back on once the walls are rinsed and the sockets taped over. They dry overnight.
- Saturday morning. Fill the holes and cracks (in an older property, fill cracks as they are, without opening them up). In an older property, don't scrape flaking paint yourself: lead paint was common before the 1970s, so get a professional in. In a newer home, scrape it back before filling. The filler dries over lunch (depending on the depth — check the tub).
- Saturday afternoon. Sand the filler, dust down, tape up and prime. The primer dries until the next morning.
- Sunday, 9am. First coat: cut in with a brush, then roll. Morning light helps you spot the gaps.
- Sunday, 1pm. Second coat — four hours after the first, never sooner. Peel off the tape straight afterwards.
- Monday onwards. Ventilate, then move the furniture back without scraping the walls. Paint is touch dry long before it's hard.
The 1pm slot isn't random. Put your second coat on at 10am because "it looks dry" and you're working onto a film that's still soft — the roller lifts patches of what you've just laid down, and suddenly you're facing a third coat. I did exactly that once, in my old studio. Never again.
How much paint do you need for a room? The four-line calculation
You calculate paint from the wall area, not the floor area. That's the mistake that sends you back to the shop on a Sunday afternoon (good luck). The sum takes four lines and two minutes, tape measure in hand:
- Wall area = the room's perimeter × the ceiling height.
- Subtract the openings: measure your door and window (width × height) and take them off.
- Multiply by the number of coats — two, in the vast majority of cases, even with a paint sold as "one coat".
- Divide by the coverage printed on the tin (in m² per litre). Then add a margin for touch-ups and whatever stays in the tray.
Treat the coverage figure as a ceiling, not a promise. Dulux quotes "Up to 14m2/litre" for Dulux Matt, and adds that "Actual coverage will depend on the conditions of the surface". Which?'s guide to painting a living room or bedroom for the first time works on a more cautious 10 m² per litre. It also recommends allowing "some extra (around 10%) for errors and wastage". Here's what both figures give for rooms with a 2.4 m ceiling, a door and a window totalling 3.5 m², two coats and that 10% margin.
| Room | Walls to paint | For two coats | At 14 m²/L | At 10 m²/L |
|---|---|---|---|---|
| 3 × 3 m | 25.3 m² | 50.6 m² | about 4 L | about 5.6 L |
| 3.5 × 4 m | 32.5 m² | 65 m² | about 5.1 L | about 7.2 L |
| 4 × 5 m | 39.7 m² | 79.4 m² | about 6.2 L | about 8.7 L |
Which? is more generous still: "You'll need at least eight litres to paint the walls of a room that's 3.5x4m". On a thirsty wall, you'll be glad of the spare. Ceilings are calculated separately (length × width) with a ceiling paint. Mine didn't come into it — my ceiling has beams, and I had no intention of spending Saturday with my head tipped back, painting between them. Same logic for primer: same wall area, one coat, and the coverage printed on its own tin.
Buy all your paint in one go and check that the tins share the same batch number: a colour mixed in store can vary very slightly from one batch to the next, and on a big wall a tiny difference shows. Two different batches? Pour them together into a bucket before you start.
The kit you need to paint a room (and what you can skip)
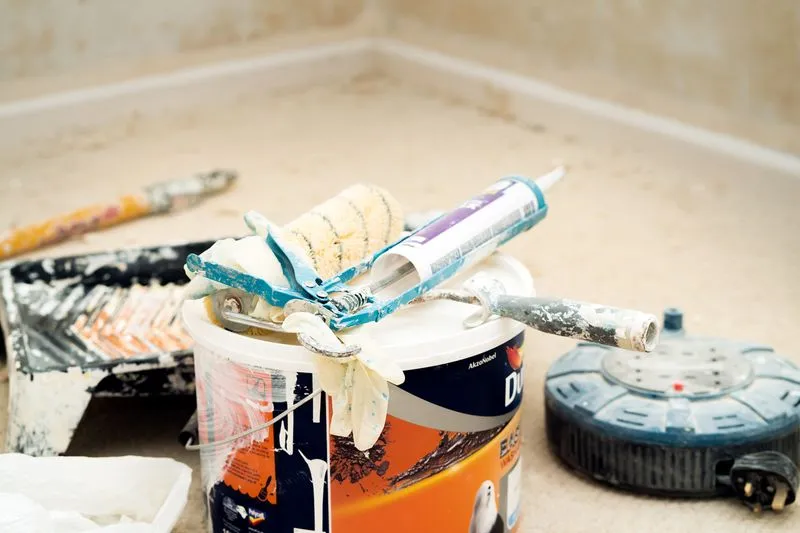
To paint a room, eight bits of kit will do, and two deserve proper money: the roller and the cutting-in brush. In its 2021 price check, Which? concluded that you should "expect to spend a minimum of £100 on DIY decorating essentials". Its basket — brushes, a 9-inch roller and sleeve, a paint scuttle, a painter's pole, a dust sheet, filler, brush cleaner, sandpaper and the paint itself — came to £98 at Wickes, £100 at Homebase, £102 at B&Q, £111 at Toolstation and £113 at Screwfix. Prices have moved since, but the shopping list hasn't. Here's mine, after my weekend:
- Dust sheets and decorator's masking tape, non-negotiable. Real painter's tape (the kind that peels off without tearing the surface) is worth every penny more than office sticky tape.
- For washing down, a sponge, a bucket and sugar soap. Nothing fancier.
- A filling knife and a sanding block: for filling and smoothing. A foam block is plenty for wall-plug holes.
- A cutting-in brush, the slim, flat brush for corners, edges and around sockets. It's the one that draws the crisp line.
- A roller, a tray or scuttle, and a grid — the grid spreads paint evenly over the roller instead of letting it drip. Without it, you overload and get runs.
Add a sturdy stepladder — not a kitchen chair, not a bar stool, I'm serious. Then gloves, goggles and old clothes: paint always ends up somewhere you didn't expect (my blonde highlights remember). Last, the unsung hero — cling film or foil — for wrapping rollers and brushes between coats.
What you can skip? The "all-in-one" kits stuffed with accessories (half of which will end up at the back of a cupboard) and the bargain-bin rollers that shed fluff into your fresh paint. Put the money into one good roller and one good brush — the rest can stay basic.
Clear, cover, tape: preparing the room before you touch the walls
A room gets painted empty, or close to it: anything that can leave, leaves, and the rest goes into the middle. Friday evening, my living room looked like a house move in reverse: a sofa, a table and my boyfriend's record collection piled in the middle under a dust sheet (the famous seven boxes of vinyl — now living on a shelf that also had to be emptied, record by record). Living somewhere small? Pick a "holding" room where everything piles up for three days.
Next, three moves. Lay dust sheets over the floor and tape the edges down — otherwise they slide, and you end up stepping in the tray halfway through the first coat. Switch the electricity off at the consumer unit, then loosen or mask the switch and socket plates: painting around them is a guarantee of an ugly outline. Finally, tape off everything that mustn't get paint on it (skirting boards, door and window frames, the edge of the ceiling).
Apply the tape to a clean, dry surface, then press it down firmly along its whole length (the back of a spoon works well). Badly stuck tape lets paint creep underneath. Your lovely straight line then turns into a jagged border. It's the kind of detail that separates "that's nice" from "who did you get in?".
Washing the walls: the step everyone skips (and shouldn't)
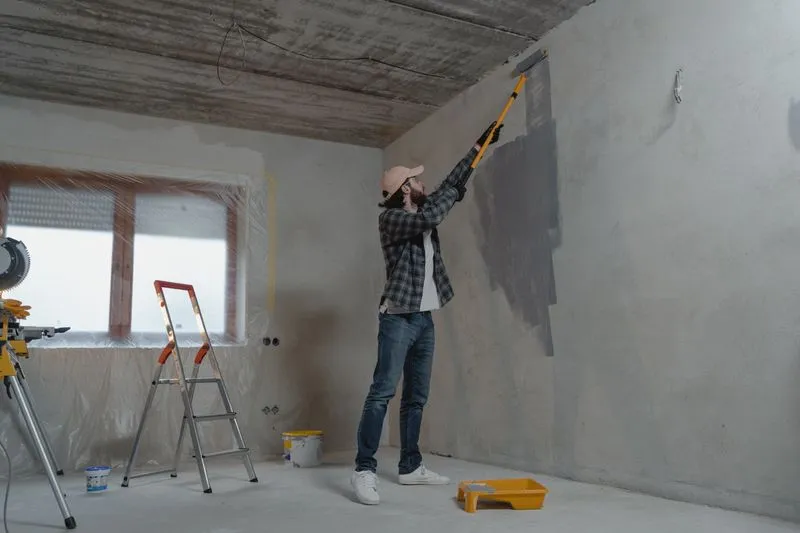
Why wash a wall that looks clean? To remove what you can't see: cooking grease, fingerprints around the light switches, candle soot, dust stuck to the surface — all of it stops new paint from gripping. On a greasy wall, fresh paint can blister or let old marks ghost through. The man in the shop was right. Obviously.
Sugar soap is the British answer: dilute it as the pack says, in warm water, and keep your gloves on, because it dries your hands out fast. Work in panels about a metre wide, starting at the bottom and moving up. It sounds backwards. Start at the top and dirty water runs down onto dry wall, leaving streaks that are hard to shift — even under the best paint in the world. Work upwards and you're always going back over wall that's already damp.
Rinse with clean water, change it as soon as it turns grey, then leave the walls to dry properly (overnight is ideal). Honestly, it's the most thankless part of the job. It's also the one that made the biggest difference to my finish.
Filling and sanding: erasing wall-plug holes and cracks
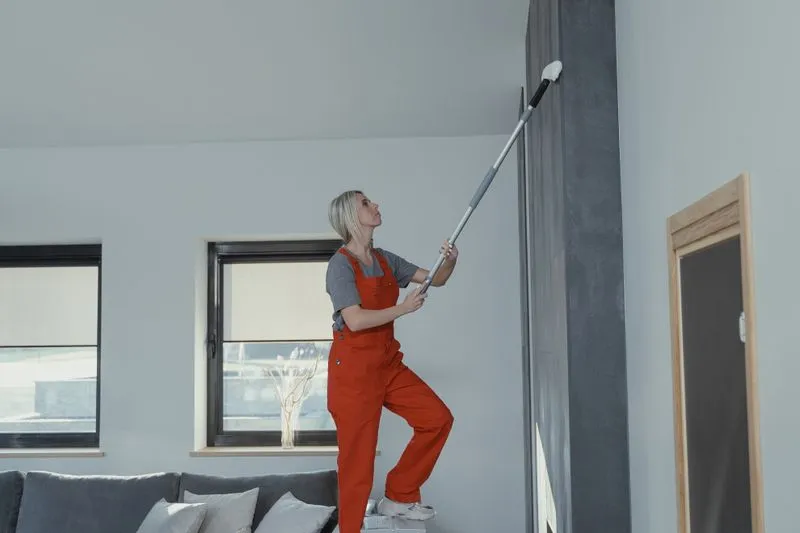
Under fresh paint, every wall-plug hole shows up twice as much (especially in a sheen finish). In the tips Which? gathered from Trusted Trader decorator Shaun McKay, preparation comes first: "Dust down the walls and sand down any uneven patches", then remove old nails and screws and fill the gaps with multi-purpose filler.
- Scrape first anything flaking or hollow-sounding, with a knife, without digging further than you need to — only in a newer home: in an older property, flaking paint can contain lead, and it's a job for a professional.
- Open up cracks slightly into a V with the tip of the knife, so the filler grips better and is less likely to crack again as it dries — again, only in a newer home. In an older property, opening a crack removes old paint, and that is when the UK Health Security Agency says exposure becomes likely: fill it flush instead.
- Overfill slightly, crossing two passes of the knife. Filler shrinks a little as it dries.
- Respect the drying time on the tub: it depends on depth, and a deep hole sometimes needs filling twice.
- Sand with a block, in small circles, until your hand can't feel any ridge. In an older property, sand the filler only, not the paint around it. Then wipe the dust off with a barely damp sponge.
In my flat: no scraping of old layers, and sanding stopped at the new filler — not a millimetre further, because the building is old (the beams give it away). And in an older home, scraping or sanding old layers of paint is not a trivial thing.
Primer: when you can't skip it, and when you can
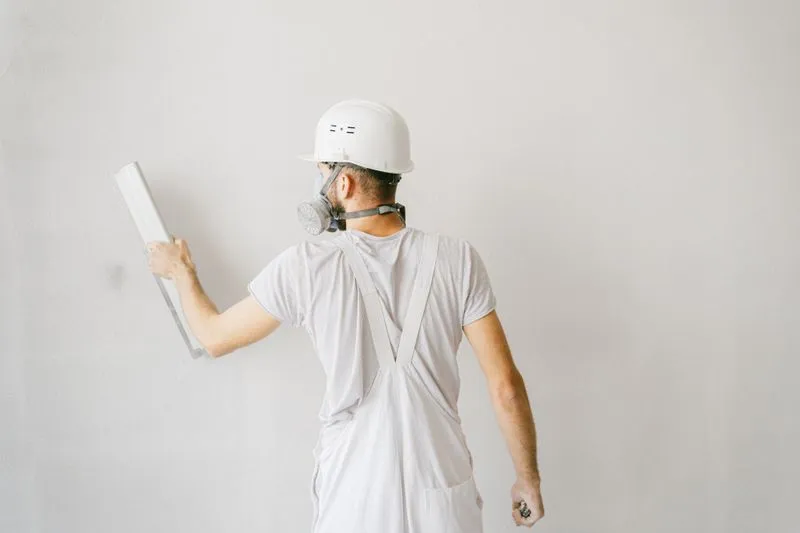
Primer gets the wall ready for colour. It evens out how much paint the surface soaks up, locks down leftover dust and helps the top coat grip. Without it, every filled hole shows through as a flat, dull patch in the middle of your wall — decorators call it flashing, and it's every bit as annoying as it sounds.
Primer becomes essential in four situations:
- Bare new plaster or plasterboard — new plaster usually gets a mist coat (emulsion thinned with water, following the tin's instructions) before the real coats go on.
- A heavily filled wall, where fresh filler sits next to old paint.
- A big colour change, especially dark to light. Dulux notes that "if the colour change is strong, more coats may be required" — a tinted primer is the cheaper way round that.
- Old gloss or silk paint, which matt emulsion struggles to grip. You'll need a primer made for shiny surfaces (check the tin says so).
On a sound wall, already painted in a similar shade and with no filling, you can skip it: two top coats will do. That's rare. In my living room it wasn't even a question — old wall-plug holes, a tired off-white, a deep sage green on the way.
Choosing your paint: finish, VOCs and the "one coat" promise
Three things, in this order: the finish, the fumes — and only then the marketing promise. The colour you've probably had in your head for weeks (me: for a year).
The finish. Matt hides small flaws and gives that chalky, velvety look everyone wants, but it's less happy with scrubbing. Silk wipes clean easily — ideal for a kitchen, a hallway or a busy landing — but it catches the light and shows up every bump. Soft sheen or "matt washable" ranges sit in between, and they're the safest bet for a living room or bedroom. I went for a washable matt. No regrets.
The fumes. Paint gives off volatile organic compounds (VOCs) as it dries, and NICE's guideline on indoor air quality at home lists using "paints" among the activities that may lead to poor indoor air quality. Its advice is to think about increasing ventilation during them, and to "follow the product instructions when using, for example, candles, paints, glues and solvents". For a room you sleep or work in, pick a water-based emulsion and check the VOC information on the tin before you look at the colour card.
The "one coat" promise. Plenty of tins claim it. Dulux itself recommends "2" coats for its standard matt. My own experience agrees (three rooms, three times two coats). The first coat covers, the second evens everything out — it's the one that gives you depth of colour and the smooth look you see in magazines.
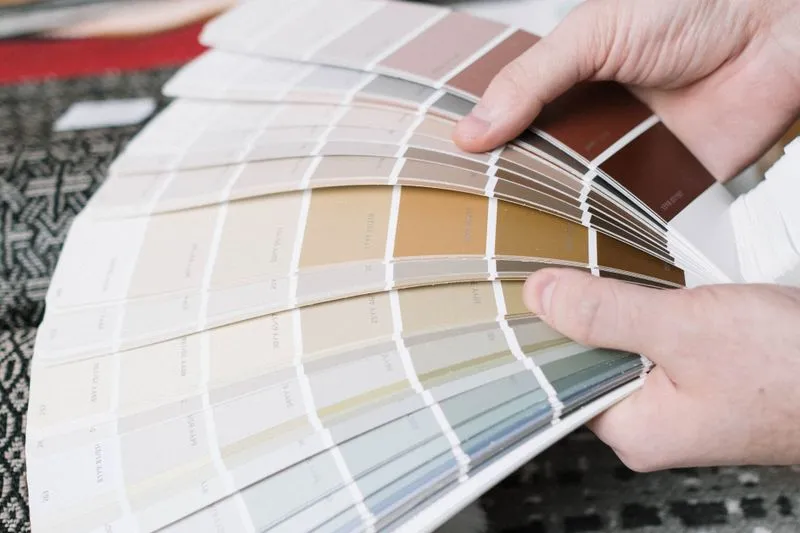
The colour. Test it for real, on a big surface, before buying six litres. Paint a sample onto a piece of card at least 50 cm across, tape it to the wall and look at it morning, noon and evening — you'll avoid the sage that turns khaki under the living-room bulb. My guide to matching colours in interior design explains why a muted sage works better on a wall than apple green. For ideas, our guide to 2025 home decor trends pairs Mocha Mousse with cream and sage. That's roughly the palette I settled on (minus the Mocha, for now — and yes, I'm the one who declared sage green dead for weddings: a wall isn't a banquet table).
Applying paint like a pro: cut in, criss-cross, lay off
Ceiling first, walls next, woodwork last: a properly painted room always follows that sequence. Shaun McKay spells it out in the Which? beginner guide: "Paint the ceiling with two coats of emulsion", then the walls, then the woodwork, with "one coat of undercoat and one top coat (e.g. satinwood, eggshell or gloss)". Anything that drips then lands on something you haven't painted yet.
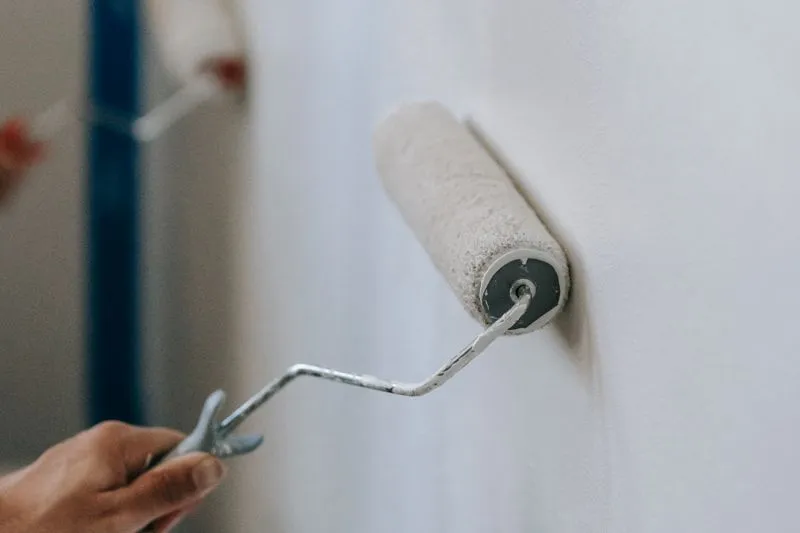
- Cut in first. With the brush, paint a band of roughly ten centimetres into the corners, along the ceiling line, around sockets and frames. A roller can't get into corners — a brush can.
- Load the roller, then roll it off on the grid. It should be well loaded, without dripping.
- Criss-cross. Work in sections of about a square metre: a few vertical passes, then horizontal ones, to spread the paint evenly.
- Lay off without reloading. Finish each section with a light pass from top to bottom, roller almost empty, always in the same direction. That final pass erases the roller marks.
- Keep a wet edge. Start each new section overlapping the still-wet edge of the last one. Stop halfway across a wall and the join will show — always finish a whole wall before the tea break.
Peel the masking tape off straight after your final coat, while it's still slightly wet. That's the approach I swear by: pull it slowly, at an angle, away from the wall. Wait until the next day and the dry film can tear along with the tape — taking a chunk of your perfect line with it.
Between coats, respect the interval on your tin (up to four hours, for Dulux Matt). And keep an eye on the temperature. In March, with the heating still on, it genuinely matters.
After painting: air the room, clean your tools, wait before moving furniture back
A freshly painted room needs airing — and not only while you're rolling. NICE's recommendations on ventilation at home tell people to think about increasing ventilation when using paints, by opening windows if it's possible and safe. I kept it going after the last coat: even with a low-VOC emulsion, I left the window ajar for three days in a row — heating on low, my mum's old cashmere jumper on my back (the one I've never given back).
Put furniture back against the walls only once the paint no longer feels tacky at all, and avoid scraping it for a few weeks. Paint is touch dry within hours, but it takes much longer to harden fully.
Cleaning up is simple — water-based emulsion rinses out with water. Squeeze the roller out into the tray, then rinse brushes and roller until the water runs clear. Don't pour paint down the sink. Seal the opened tin tightly, write the room and the date on the lid, and keep it for touch-ups. For leftovers you don't want, check your council's rules on disposing of paint.

Renting? What to check before you paint
In England, the answer depends on your tenancy agreement, so read it before you open a tin. What happens when you move out matters just as much. Shelter's guide to deposit deductions for cleaning and decorating lists "paint walls a different colour" among the significant changes a landlord can object to. Its advice is blunt: "Decorated or made changes without consent? Put the property back how it was when you moved in to avoid deposit deductions."
The same page offers some reassurance, too: "Your landlord cannot withhold your deposit just because it's time to redecorate." My advice: ask for permission by email before you start, and keep the reply. Take dated photos of the original walls, note the name of the old colour if you can find it, and pick a shade you'd be happy to paint over yourself before you leave.
And if your home is an older property, renting doesn't change what's in the old layers: lead paint was common before the 1970s. Ask your landlord what they know about the paintwork before you get the sanding block out.
Frequently asked questions
Do I really need to wash walls that look clean?
Yes. A wall that looks clean often carries a film of grease, dust or fingerprints (especially around switches). Sugar soap removes it and lets the paint grip. Wash from the bottom up, rinse, then let the wall dry fully before you carry on.
How long should I wait between coats of paint?
The interval is on the tin — and it varies from one paint to another. Dulux says to leave 2-4 hours between coats of Dulux Matt. Touch dry doesn't mean ready to recoat: if in doubt, wait longer, never less.
Can I paint a wall without primer?
On a sound wall, already painted in a similar shade and with no filling, two top coats are often enough. On bare plaster, a heavily filled wall or old gloss, you'll need one. The same goes for a big colour change: primer saves you dull patches and extra coats.
When should I remove masking tape?
Straight after the final coat, while the paint is still slightly wet — that's what works for me. Pull it slowly, at an angle, away from the wall. On fully dry paint, the tape can tear the film and ruin your line.
I'm pregnant — can I paint the nursery?
Better to delegate and plan ahead. The UK Health Security Agency recommends that pregnant women avoid activities with a risk of high levels of lead exposure, and in an older home that includes sanding old paintwork. Choose a water-based, low-VOC paint, have the room painted several weeks before the birth and keep it well ventilated.
Can I sleep in a freshly painted room?
Ventilate first. NICE lists using paints among the activities that may lead to poor indoor air quality, and advises increasing ventilation. A low-VOC paint gives off very little, but not nothing. Keep the window open as much as you can for the first few days (and sleep elsewhere for the first nights if you can).
Why is my wall patchy once it's dry?
A patchy wall almost always comes from a coat that's too thin or a roller that wasn't loaded enough. Other culprits: rolling back over paint that has already started to dry, or a surface that soaks up paint unevenly. The fix? Another coat, applied wet-on-wet a square metre at a time. If filled areas still show through as dull patches, prime them first.
Sources
- Which? — How to paint your living room or bedroom for £100, even if you've never done it before
- Dulux — Dulux Matt, product information
- UK Health Security Agency (GOV.UK) — Lead: information for the public
- NICE — Indoor air quality at home (NG149), recommendations
- Shelter England — Can landlords charge for cleaning, gardening and decorating?