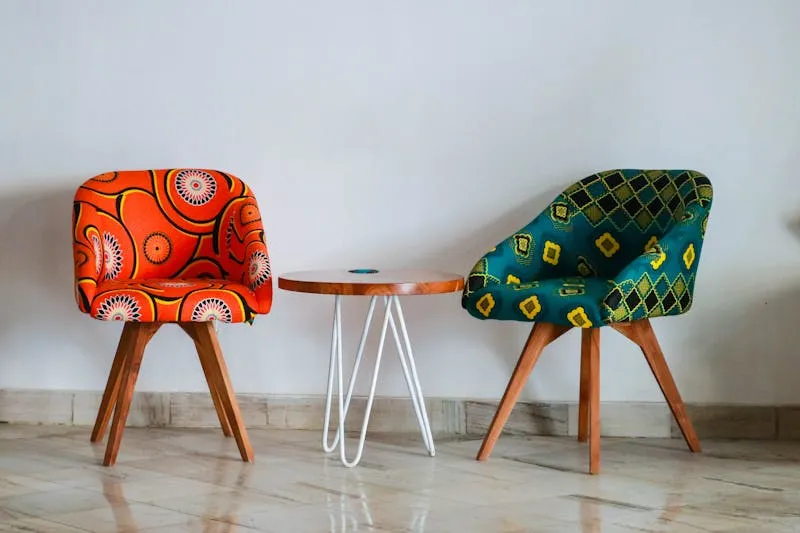
My favourite piece of furniture is an Art Deco chest of drawers from the 1940s — bought for £25 on Facebook Marketplace in a condition my mother would have described as "skip-worthy." Drawers that jammed, veneer peeling on one side, a shade of brown so depressing it would have bummed out a Buddhist monk. Three weekends later: sage green chalk paint, brushed brass handles, a salvaged marble top from a broken console table. My friends think it's from a Soho design boutique. It cost £25 plus about £35 in supplies.
Upcycling isn't nostalgic hippie crafting — it's accessible design. It's taking a piece of furniture with a solid structure (old solid wood is often better quality than new flat-pack) and giving it today's aesthetic. This guide covers the essential techniques, from simplest to most ambitious, with the mistakes to avoid at every stage.
Where to find the perfect piece to transform

The ideal upcycling candidate has three qualities: solid structure, interesting lines, and a negligible price. Everything else — colour, surface condition, hardware — can be changed. Here's where to look, ranked from most affordable to most convenient:
Facebook Marketplace / Gumtree — hunting ground number one. Filter by "free" or set a maximum budget of £40. Solid wood furniture (oak, walnut, cherry) from the 1950s–80s is literally being given away because the style is "outdated." That's exactly what we're after: quality wood at zero cost, redeemed by design.
Charity shops and furniture reuse schemes — unbeatable prices (£8–30 for dressers, sideboards, tables) and the assurance that the furniture has survived decades, meaning it's structurally sound. British Heart Foundation, Emmaus, and local reuse schemes are goldmines.
Skips and house clearances — keep your eyes peeled. Solid wood furniture gets thrown out daily because it "doesn't match the new kitchen." One person's rubbish is an upcycler's raw material.
Car boot sales and flea markets — higher prices than online but you see and touch before buying. And you can negotiate — especially in the last hour when sellers don't want to load everything back.
The diagnosis: what's salvageable (and what's not)
Before reaching for the drill and paintbrushes, take 10 minutes to diagnose your piece. Not all defects are equal:
Easily fixable:
- Sticky drawers — rub a candle (the wax kind) along the runners. 2 minutes, problem solved for years
- Loose screws — remove the screw, push a toothpick coated in wood glue into the hole, let dry, re-screw. The toothpick fills the enlarged hole. Old carpenter's trick, never fails
- Scratches and small chips — wood filler (£2), apply with a putty knife, sand after drying. Invisible under paint
- Peeling veneer — PVA glue injected under the veneer with a syringe (no needle), clamped or weighted with heavy books for 12 hours
- Musty smell — undiluted white vinegar on all interior surfaces, then baking soda sprinkled and left 48 hours before vacuuming. Works 90% of the time
Fixable but requires skill:
- Wobbly legs — if one leg is broken, replace all four with new ones (£10–18 per set). This modernises the piece at the same time
- Damaged drawer base — cut a 3mm plywood panel to size, fix with pins. £4, 20 minutes
- Deep water stains — sanding reduces but doesn't always remove them. Solution: paint the piece rather than varnishing
Deal-breakers:
- Active mould — if the wood is soft and spongy, it's rot. The piece is structurally compromised
- Active woodworm — small holes with fresh sawdust (pale powder). Old holes (dark, no dust) are purely cosmetic and can be filled. Active holes mean the wood is being eaten from the inside
- Broken joints — if mortise-and-tenon joints are shattered, repair is a professional joiner's job. Not an upcycling project
Preparation: the key to a professional result
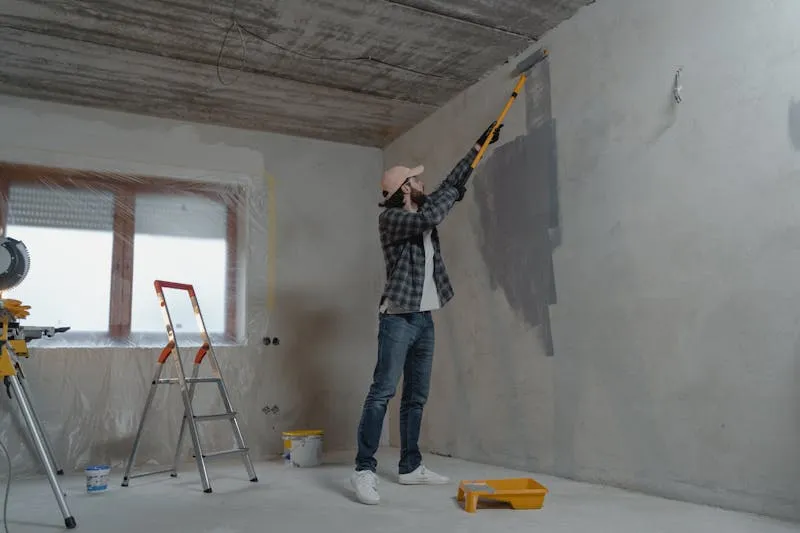
80% of the final result depends on preparation. I know, it's the least glamorous part — nobody posts sanding stories on Instagram. But if you rush this step, your paint will peel, your finishes will be uneven, and you'll be disappointed in 3 months.
Step 1 — Deep cleaning
Warm water + sugar soap + abrasive sponge. Scrub every surface to remove grease, embedded dust, and residual wax or varnish. Rinse with clean water. Let dry 24 hours.
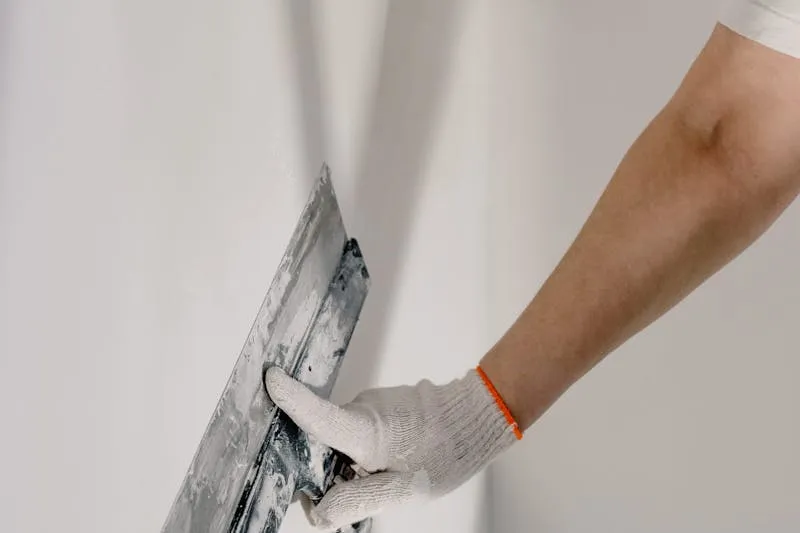
Step 2 — Sanding
Two scenarios:
- You're painting (with chalk paint) — light sanding with 120 grit, just to create grip. 10 minutes is enough. Chalk paint adheres to almost anything
- You're painting (with regular paint) — sand with 80 grit to strip old varnish, then 120 to smooth, then 240 to finish. That's 30–60 minutes depending on size. An orbital sander (£20–35) cuts the time by two-thirds
- You're keeping the wood visible — full sand through 80, 120, then 240 until you reach bare wood. It takes longest but the result on old oak or walnut is breathtaking
Paint techniques that transform any piece of furniture
Painting is the most satisfying step — the one where the furniture transforms before your eyes. Three techniques, from simplest to most advanced:
Technique 1 — Solid colour (absolute beginner)
Two coats of chalk paint, one coat of finishing wax. That's it. The finish is matte, velvety, contemporary. Colours that work every time: off-white (Farrow & Ball "All White"), sage green, storm blue ("Hague Blue"), matte black. Avoid pure white — it yellows over time and looks "kitchen furniture."
Technique 2 — Two-tone (intermediate)
Body in one colour, top (or drawers) in another — or in natural oiled wood. The safest combo: white or light grey body + natural oiled wood top. The trendiest: matte black body + golden wood (oiled oak). The key: masking tape applied immaculately at the junction between the two finishes.
Technique 3 — Ombré gradient (advanced)
Two shades from the same family (e.g., dark green at the bottom, light green at the top) blended with a dry brush while the paint is still wet. Spectacular but demands speed and good paint moisture management. Practise on cardboard before committing to the furniture.
Distressing, ageing and special effects
Distressing is the art of giving furniture the appearance of graceful ageing — without waiting 50 years. Three techniques that work every time:
Shabby chic (edge distressing)
Paint your piece in 2 coats. Once dry, take 240-grit sandpaper and lightly sand the edges, corners, and drawer fronts — everywhere furniture naturally wears through use. The wood shows through the paint irregularly and organically. The simplest and most effective character-building technique.
Tinted wax
On light-painted furniture (white, grey, pastel), apply dark tinted wax (brown or "antiquing" wax) with a cloth. The wax accumulates in recesses, mouldings, and corners — exactly as natural patina would. Wipe excess with a clean cloth. The effect is subtle and refined.
Dry brush
Dip a wide brush in paint, wipe almost all of it off on a cloth, then pass it lightly across the furniture. The result: light, textured paint strokes that let the colour beneath show through. Fantastic for creating a "driftwood" effect on pine, or a "limewash" look on dark oak.
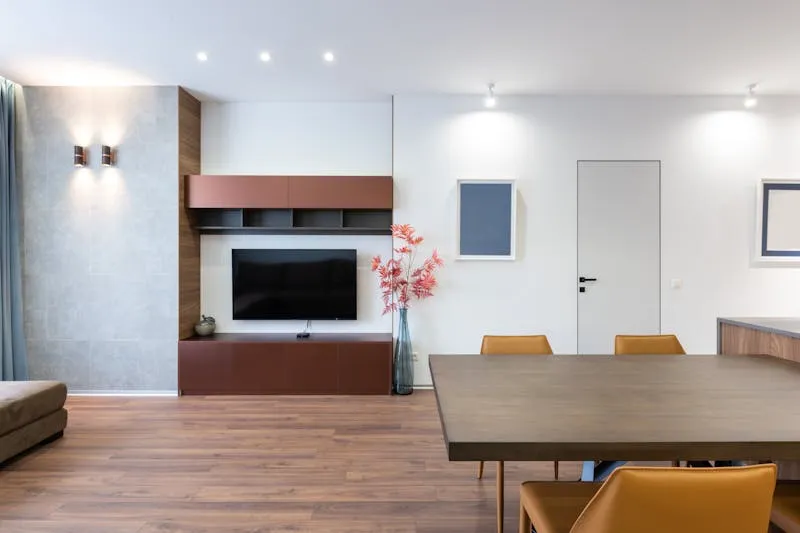
Hardware, legs and finishing details: the 20% that creates 80% of the impact

Changing a piece of furniture's handles is the equivalent of changing jewellery with an outfit: it transforms the whole look in 5 minutes for £8–15. And it's the most underrated move in upcycling.
Styles that modernise instantly:
- Brushed brass — warm, timeless, elegant. Works beautifully on cool-toned painted furniture (grey, blue, green). The safest choice for a high-end result
- Leather (strap or loop) — Scandinavian, natural, tactile. Perfect on white or neutral-painted pieces. You can even make them yourself with a leather strip and two screws
- Matte black — graphic, contemporary, minimalist. Works on everything. The "little black dress" of furniture hardware — timeless
- Ceramic or porcelain — romantic, cottage, vintage chic. Each drawer can feature a different pattern for a "collected" effect
The leg swap: another modernisation lever
A low, squat piece on short legs becomes airy and contemporary with 15cm tapered legs. A heavy sideboard sitting on the floor gains lightness with 10cm hairpin legs. Budget: £12–22 per set of 4. Visual impact: dramatic.
Revealing natural wood: when NOT to paint

Some woods don't deserve to be painted — they deserve to be revealed. Oak, walnut, cherry, teak from vintage Scandinavian pieces: beneath their yellowed varnish often lies a magnificent grain that's just waiting to breathe.
The method for revealing bare wood:
- Strip the varnish — gel chemical stripper (gentler than a scraper) or orbital sander at 80 grit. Stripper is easier for mouldings and corners; the sander is faster for flat surfaces
- Sand in 3 passes — 80 grit (stripping), 120 (smoothing), 240 (silky finish). Always with the grain, never across it
- Choose the finish — oil (natural, nourishes wood, contemporary matte look), wax (satin, silky feel, needs periodic maintenance), or matte varnish (maximum protection, slightly "plastic" feel). My choice: hardwax oil (Osmo, Rubio Monocoat). One-coat product, durable, and the wood keeps its natural touch
Frequently asked questions about furniture upcycling
How much does upcycling a piece of furniture cost on average?
Between £20 and £50 in supplies (paint, wood filler, sandpaper, hardware), excluding the furniture itself (often free or £8–30). The biggest cost is paint: a 500ml tin of quality chalk paint costs £12–22 and covers a medium-sized piece (dresser, low sideboard). New handles add £6–15 depending on style. Compared to an equivalent new piece of furniture (£150–500), the value is unbeatable.
Does chalk paint really last?
Yes, provided you apply a protective finish: natural wax (reapply every 6–12 months) or matte polyurethane varnish (lasts 3–5 years without maintenance). Without a finish, chalk paint is porous and marks easily — it's designed to be sealed. For high-traffic pieces (tables, worktops, bathroom furniture), varnish is better than wax because it's more resistant to water and friction.
Can you upcycle IKEA melamine furniture?
Yes, with the right paint. Chalk paint adheres directly to melamine without primer. For regular paint, you absolutely need a specialist "melamine bonding primer" (Zinsser BIN, Dulux Trade). Regular paint without primer on melamine = guaranteed peeling within 6 months. Caution: melamine doesn't sand like solid wood — the resin layer is thin, and if you sand through it, you hit the chipboard beneath, which absorbs paint unevenly.
Where can I find original hardware on a budget?
Three sources: (1) the hardware aisle at B&Q or Wickes — individual handles from £1.50–4, (2) online specialists like Amazon, Etsy, or eBay — vast choice at £2–4 each, (3) charity shops and flea markets for authentic vintage hardware at tiny prices. And don't forget the DIY option: a 20cm leather strip folded into a loop and fixed with 2 screws = a Scandinavian handle for 40p.
How long does an upcycling project take from start to finish?
Budget 2–3 weekends spread over 2 weeks (due to drying times). Weekend 1: cleaning, repairs, sanding, first coat of paint. Week: full drying. Weekend 2: second coat, finishing (wax or varnish), hardware and leg swap. That's the realistic timeline — the "2-hour transformations" on Instagram conveniently omit drying and prep time. Reality is less photogenic but more honest.
Sources and references
- Annie Sloan — Chalk Paint® Techniques and Official Application Guide
- WRAP — Furniture Reuse Network: Environmental Impact Data
- This Old House — Furniture Refinishing and Restoration Expert Guides
- Rubio Monocoat — Hardwax Oil Application Guide for Solid Wood