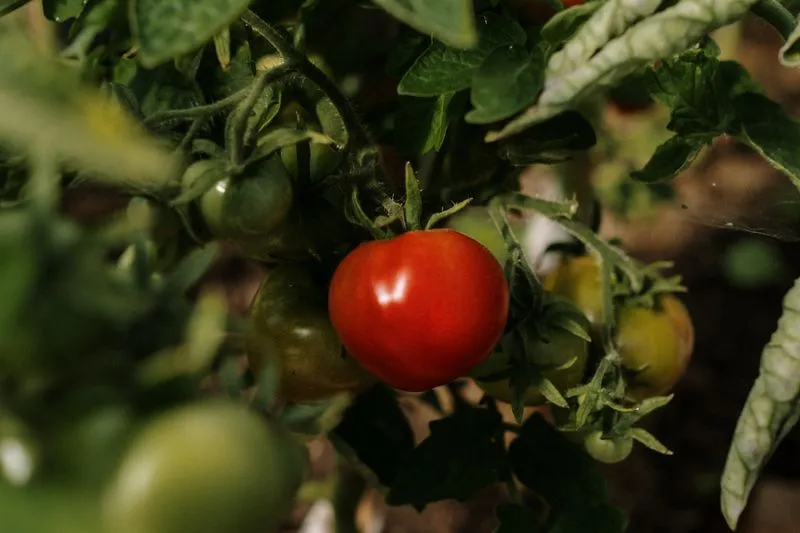
Last Saturday, twenty to eleven, outside the trading hut of her allotment society: a creosoted shed with a hand-written price list pinned inside the door and a trestle table of plants on the gravel in front. Fiona, 43, a quantity surveyor, is holding a pot in each hand — two tomato plants a good 30 centimetres tall, stems already thick, a first truss of yellow buds at the tip. The wind coming across the plots still has an edge to it. At the counter, two plot neighbours are comparing what they came home with from the society's seed swap in February (one of them seems to have ended up with three kinds of kale). Fiona doesn't move. Last year she planted her tomatoes out on her plot at the end of April, on a gloriously sunny Sunday. Two cold nights in early May — and the leaves took on a bluish tinge; the plants barely grew for three weeks. Then, in August, after a run of wet, muggy days, blight blackened the whole row in less than a week. Nine plants, a single batch of green tomato chutney.
When Fiona told me about that morning, she summed up her dilemma in one line: "Do I buy them now, or do I wait?" It is the question every spring asks. The short answer is to wait — for early summer outdoors, and for nights that have stopped flirting with frost. But a tomato harvest is also won earlier (at sowing) and later (at the watering can, at pinching out, and in the face of blight). This guide follows a full season, with the figures from the UK's reference sources — and it keeps what is established separate from what is simply experience. If you are starting from scratch, our complete guide to a beginner's vegetable garden covers soil, site and rotation; here, it is tomatoes only.
The tomato calendar, from seed to harvest
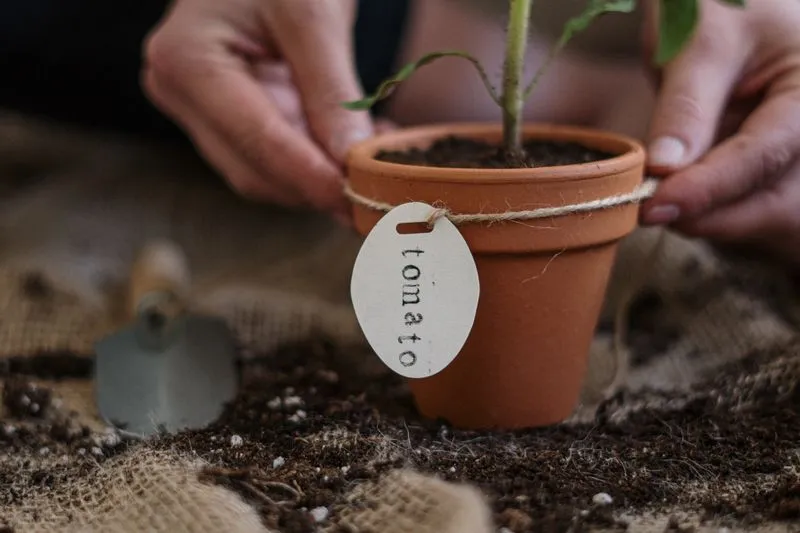
Tomatoes are sown indoors between February and April, planted out in May or June, and harvested from July to September. That is the month-by-month calendar in the RHS guide to growing your own tomatoes. Within that window, one line is worth remembering: sow from late February to mid-March if the crop will grow in a greenhouse, and from late March to early April if it will grow outside.
| Stage | Typical timing | What to remember |
|---|---|---|
| Sowing (greenhouse crop) | Late February to mid-March | About 18°C to germinate; seedlings usually within a fortnight |
| Sowing (outdoor crop) | Late March to early April | As much light as possible once seedlings appear |
| Pricking out | After a couple of weeks | Once seedlings have a couple of true leaves; keep at 16°C or more |
| Planting out | May to June | Early summer, once temperatures are reliably above 16°C |
| Stopping cordons | Mid to late summer | Seven trusses under glass, four outdoors |
| Harvest | July to September | Pick each fruit when fully coloured, stalk attached |
Greenhouse plants usually start cropping earlier than outdoor ones and carry on for longer, well into autumn (smaller cherry types ripen fastest). Your own garden — or balcony — still has the final say: a sheltered city courtyard and an exposed hillside allotment rarely run to the same timetable.
Sowing tomato seeds indoors
Tomatoes are easy to grow from seed indoors. Sowing your own also opens up a far wider choice of varieties than the plant bench at the garden centre; bought plants make sense mainly when you are short on time or space. All you need is a pot or seed tray, peat-free compost and somewhere warm and bright (a windowsill will do).
- Fill and sow. Sow into modules, small pots or a seed tray of compost, spacing the seeds rather than scattering them in a clump.
- Keep them warm. Seeds need about 18°C to germinate. A heated propagator works, or a warm windowsill with the pot covered by a clear plastic bag to hold in humidity.
- Uncover at once. Seedlings usually appear within a fortnight. As soon as they do, remove the cover.
- Give them light. Move them into as much light as possible — this is what stops them growing thin and leggy.
Light matters as much as warmth. A tray kept cosy but in a dim corner produces long, floppy stems that lean towards the window — gardeners call them "leggy". It is not a disaster, but it is the first thing to watch for in a flat, where March light fades fast away from the glass.
Pricking out and choosing good plants
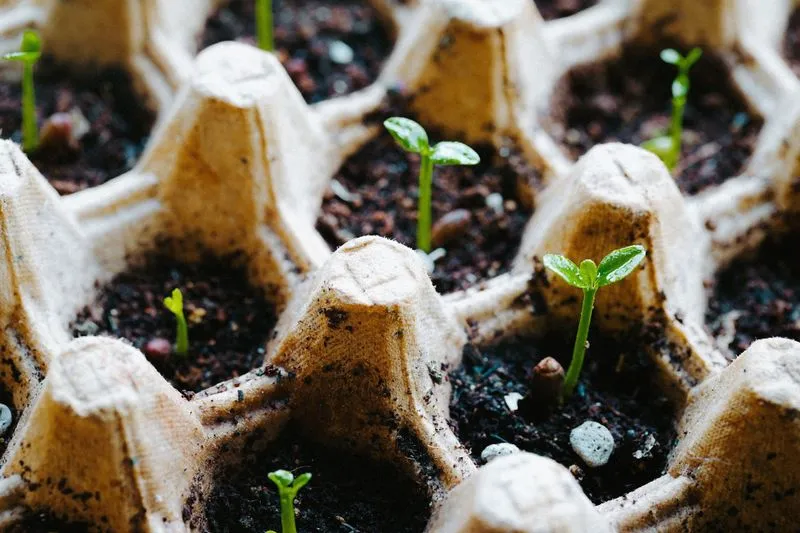
Pricking out gives every seedling its own pot — and its own supply of compost. According to the RHS, the moment comes after a couple of weeks, once the seedlings have a couple of true leaves. Move each one into an individual pot or module of peat-free multi-purpose compost.
- Lift each seedling individually, using a dibber to support its rootball.
- Hold it by a leaf rather than by the stem (the stem is the delicate part).
- Keep the pots somewhere bright, at a temperature of at least 16°C, and water regularly.
- After about a month, the young plants should be ready for their final position.
Before they go out for good, tomatoes need hardening off — acclimatising them to garden conditions gradually, outside by day in a sheltered spot and back indoors at night. They are tender and need protection from frost: hardening off helps them adjust to garden conditions, but it is no licence to plant out early.
Grafted plants are the other option: a recent introduction, generally more vigorous than seed-grown plants, with earlier and larger crops and greater disease resistance, but more expensive and with a narrower choice of varieties. Whichever you choose, the same rule applies: none of them goes outside before the nights have warmed up.
When to plant tomatoes out in the UK
Tomatoes can go into their final position in early summer, once temperatures are reliably above 16°C, according to the RHS. In practice, that means planting out in May or June. The later end of that window is no failure in a cold spring. Outdoors, choose a really warm, sunny, sheltered spot. Tomatoes are tender, and a cold night does far more damage to a young plant than a week's wait ever will.
The UK's spring is long and fickle. A warm April weekend fills garden centres with tomato plants, but the plants don't read the calendar any more than the weather does. If you have a greenhouse, you can plant earlier there than outside — which is why greenhouse crops get an earlier sowing window (late February to mid-March).
If a clear, still night is forecast after you have planted out, a layer of horticultural fleece over the plants in the evening is the simplest insurance. Cloches and cold frames do the same job for a handful of plants on a patio.

How to plant tomatoes: depth, spacing, pots and growing bags
Tomatoes thrive in rich, free-draining but moisture-retentive soil. The RHS therefore advises adding plenty of garden compost before planting (well-rotted manure also works as a mulch later on). Choose your warmest, sunniest spot, sheltered from wind.
- Spacing in the ground. Space plants 45–60cm apart, depending on their eventual size (the seed packet gives exact spacings).
- Depth. Plant deeply, so the first set of leaves sits just above the soil surface — the buried section of stem will produce extra roots.
- Support from day one. For cordon tomatoes, insert a sturdy cane next to the plant and tie the main stem in loosely.
- Rotation. Avoid growing tomatoes in the same bed in consecutive years, to prevent diseases building up in the soil. In a greenhouse border, ring culture is an alternative.
Pots and growing bags suit tomatoes well, in a greenhouse or outdoors in full sun, and they are very productive in a small space. The rule of thumb: one plant per 30–45cm pot, and two in a standard growing bag, using peat-free loam-based or multi-purpose compost. Bush types are compact and ideal for large patio containers, troughs and window boxes (trailing varieties even go in hanging baskets).
If you are planning your beds around rotation and what grows well together, our guide to permaculture principles for the garden is a good place to start.
Staking tomatoes and removing side shoots
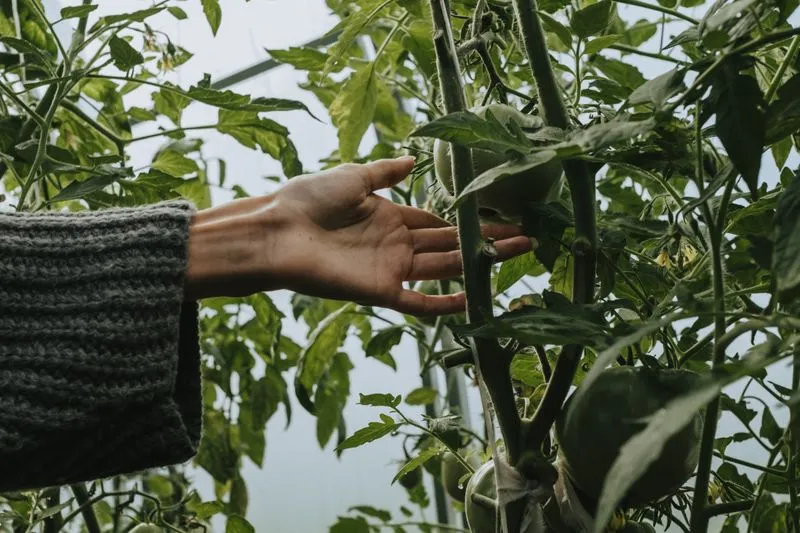
There are two ways a tomato plant grows. Cordon (or indeterminate) tomatoes are vigorous, fast-growing plants that get very tall and need tall supports; bush types are naturally more compact and need little maintenance. Everything in this section is about cordons.
Cordons are best grown on a single stem. The trouble is that they naturally produce side shoots from the joints where leaves sprout from the main stem. Left alone, those shoots grow fast. The result is a mass of long, scrambling, leafy stems that are hard to support, produce few fruits and take up a lot of space. Removing them is simple: pinch them out or snap them off while they are small.
The other key job is stopping the plant. When a cordon reaches the top of its support, or has set seven fruit trusses indoors or four outdoors, remove the growing point of the main stem two leaves above the top truss. The plant can then concentrate on ripening the fruit it already carries.
Watering and feeding tomatoes
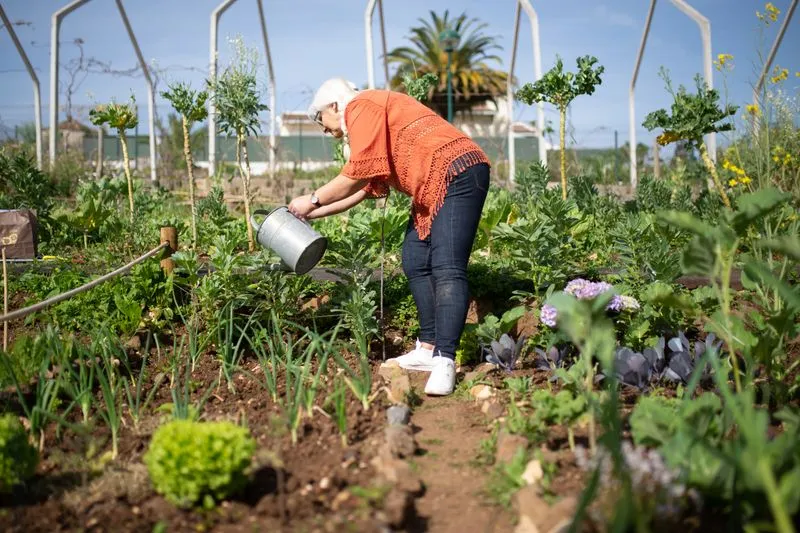
Tomatoes need soil or compost that stays evenly moist. Fluctuating moisture levels cause problems with the fruit (splitting, or blossom end rot). Plants in containers dry out quickly and may need watering daily in hot weather; curling leaves can be a sign that a plant is short of water.
- Water the roots, not the neck. A simple trick: sink a 15cm pot into the ground beside each plant and water into it, so the water goes straight down to the roots instead of sitting around the stem, which can lead to rotting.
- Mulch thickly. A layer of garden compost or well-rotted manure holds in moisture and deters weeds — but leave a gap around the base of the stem.
- Feed once fruit swells. Every 10–14 days, a high-potassium liquid fertiliser, starting when the first fruits begin to swell (especially for plants in containers).
- Help pollination under glass. Open greenhouse vents regularly so insects can reach the flowers, and gently tap fully open flowers to help pollen move.
Rainwater is worth every drop. The RHS guide to collecting and storing water points out that even in dry districts, 24,000 litres (around 150 water butts) could be collected from a roof each year — and that gardeners using stored water can help avoid hosepipe bans. One nuance matters for tomatoes: collected water is best used on established plants rather than seedlings, because of the risk of fungal diseases. Keep the tap water for the seed trays, and the water butt for the plants in the ground.
Blossom end rot is the classic sign that watering has been uneven (not that the soil is poor). The RHS page on blossom end rot describes a circular patch, greenish-brown to black, at the flower end of the fruit, which sinks as it grows. The cause is a lack of calcium in the fruit — yet it is very rare for soil or compost to lack calcium. The problem is water: calcium only reaches the fruit when water flows steadily through the plant. Plants in pots and growing bags are most at risk. In hot spells they may need watering two or more times a day, and it is better to water twice a day than once with double the volume.
Tomato blight: how to spot it and slow it down
Blight is what finished off Fiona's allotment row — and plenty of others after a wet August. The RHS page on tomato blight describes late blight as a disease caused by a fungus-like organism (an oomycete, Phytophthora infestans) that spreads rapidly through the foliage and fruit of tomatoes in warm, wet weather, causing collapse and decay. It can be very serious on outdoor tomatoes. Greenhouse plants are less likely to be affected (spores have to find their way in through doors and vents), but can still suffer badly at times.
The symptoms usually come in this order:
- Leaves — a rapidly spreading, watery rot; leaves collapse, shrivel and turn brown, sometimes with a fine white growth on the underside.
- Stalks and stems — brown lesions that can lead to the collapse of leaves, stems or even the whole plant.
- Fruit — water-soaked patches turning brown on green fruit, while riper fruit decays rapidly.
Why does it move so fast? Infection needs prolonged surface wetness (several hours), which is why the disease is so serious in wet summers. In the UK, outbreaks may occur from June onwards, usually earliest in the South West. Under glass, the similar-looking leaf mould is a frequent mix-up: its growth under the leaves is greyish-brown rather than white, and it doesn't cause stem lesions or widespread fruit rot.
What can you do? Mostly slow it down and limit the damage:
- keep the foliage of greenhouse tomatoes as dry as possible;
- pick off leaves when only a few are affected (this may slow the disease very slightly, but will not eradicate it);
- use fruit from affected plants quickly — in chutney or sauce — rather than trying to ripen green fruit indoors, where much of it may rot;
- clean canes and other equipment that touched blighted plants with a disinfectant before reusing them;
- don't reuse the soil or compost from a blighted greenhouse crop for next year's tomatoes.
Allotments and blight: why your neighbours matter
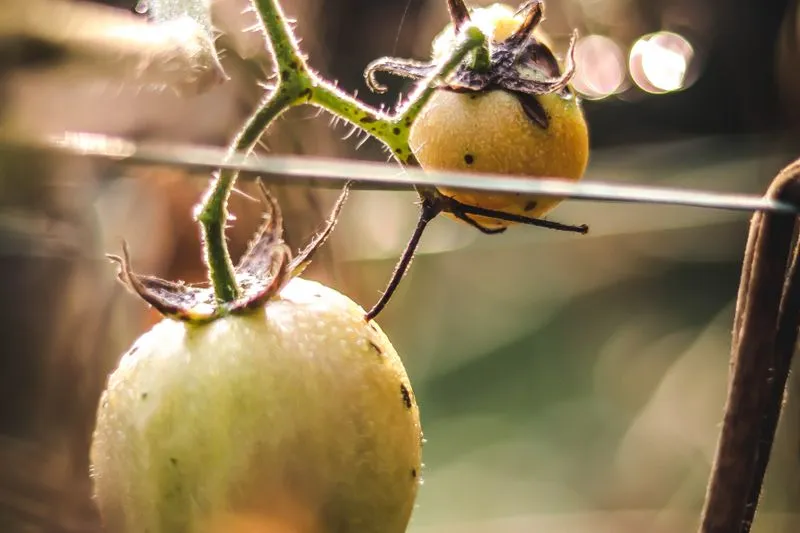
On an allotment, blight is a shared problem. Tomato or potato material left in a single garden could carry the disease over. But the great majority of garden infections arise from wind-blown spores (sporangia) coming from other gardens and allotments, and from commercial potato crops. Your hygiene matters — but so does the plot next door.
There is also no spray to fall back on. The RHS puts it plainly:
There are currently no fungicides available for use by gardeners against blight.
That makes prevention a collective effort. The usual primary source of the disease each year is infected potato tubers left in the ground over winter, so lifting every last potato — including the stray ones that come up where potatoes grew last year — is a genuine service to the whole site. Outdoor tomatoes grown in soil also need a rotation of ideally at least four years, with no potatoes in that bed over the same period.
Where blight is a yearly visitor, a resistant variety such as 'Crimson Crush' or 'Mountain Magic' becomes the most useful lever you have.
Choosing tomato varieties for flavour and resilience
There is an enormous range of tomato varieties, and that choice is one of the best reasons to grow your own. Fruit of every size, colour, texture and flavour — far more than you get in the supermarket. Small-fruited varieties tend to be the easiest, the fastest to fruit and the most prolific. For reliable crops, look for the RHS Award of Garden Merit (AGM).
- For flavour — among the RHS recommended varieties: 'Brandy Boy', a beefsteak with large, pink, thin-skinned fruit and a rich flavour; 'Costoluto Fiorentino', a deep-red, ribbed beefsteak valued by chefs, for the greenhouse; and 'Cristal', a salad tomato with early, reliable crops of tasty, disease-resistant fruit. All three are cordons.
- For blight resistance — no variety is fully immune, and new strains of the pathogen could overcome existing resistance. But the RHS reports that 'Crimson Crush' and 'Mountain Magic' performed very well at Wisley in 2021, a year when blight was extremely widespread and susceptible cultivars were severely affected.
- For small spaces — compact bush types, in large patio containers or hanging baskets.
Nothing says you have to pick a side. One or two varieties for flavour and curiosity, plus one resistant variety to secure a crop if the summer turns wet: that is the balance I would suggest for a first demanding season — and it is the one Fiona chose, in the end, for her plot.
Frequently asked questions
Can I plant tomatoes outside in May?
In a mild area and a warm year, late May can work — the usual window for planting out is May to June. The real test is temperature: plant out in early summer, once it is reliably above 16°C, after hardening the plants off. In a greenhouse, you can plant earlier than outdoors.
How many tomato plants can I put in a growing bag?
Two per standard growing bag, or one plant per 30–45cm pot. Plants with limited root space dry out quickly, so they need the most regular watering of all.
Do I need to remove side shoots on every tomato?
No — only on cordon (indeterminate) varieties, which are best grown on a single stem. Bush types are naturally compact and need little maintenance. On cordons, check for side shoots every time you water and pinch them out while small.
Can I water tomatoes from my water butt?
Yes, for established plants. The RHS recommends using collected water on established plants rather than seedlings, because of the risk of fungal diseases, and cleaning water butts once a year to keep the water fresh.
Why do my tomatoes have black bottoms?
That is almost certainly blossom end rot: a sunken, dark patch at the flower end of the fruit. It comes from a lack of calcium in the fruit, caused by irregular watering rather than by poor soil. Keep the compost evenly moist and mulch around the plants to protect the next trusses.
Is there a spray I can use against tomato blight?
No. The RHS states that there are currently no fungicides available for use by gardeners against blight. Prevention — dry foliage, rotation, resistant varieties, good hygiene — is the only toolkit.
How often should I feed tomato plants?
Every 10–14 days, with a high-potassium liquid fertiliser, once the first fruits start to swell, according to the RHS — especially for plants in containers.