The turning point was a rainy Sunday in November. My bookshelf was overflowing, I'd spotted a wall-mounted oak shelf for £150 on a design website — and my boyfriend said, "you know… you could make that yourself for £20." I rolled my eyes. Me? With a drill? The thing is, he was right. Two hours and one YouTube video later, my shelf was on the wall. Not perfect, slightly crooked — but on the wall. And the pride I felt was worth far more than the £130 I'd saved.
Since then, I've fallen into DIY the way you fall into a Pinterest rabbit hole at 11pm on a Tuesday night. Three years and a good thirty projects later, here are the 10 I recommend to true beginners — the ones that need few tools, little investment, and deliver immediately gratifying results. Each project includes exact materials, budget, time required, and an honest difficulty rating.
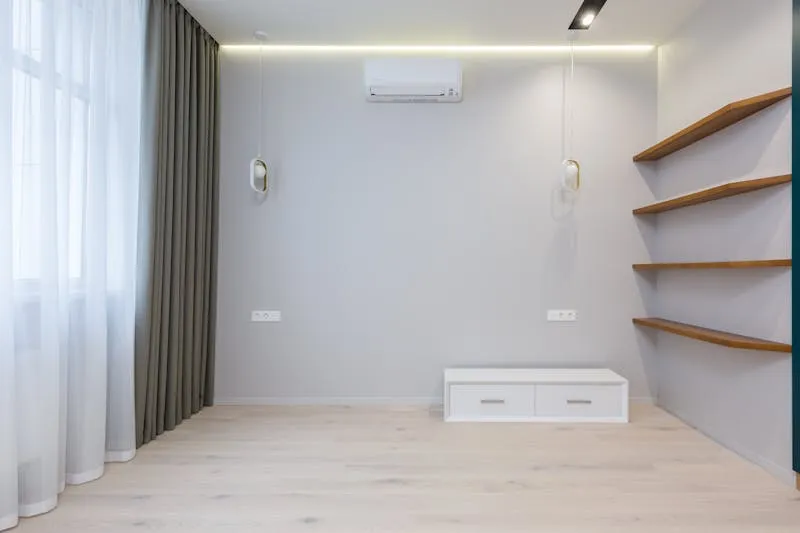
Project 1 — The simple wall shelf: the perfect starting point
Difficulty: ★☆☆☆☆ | Budget: £12–25 | Time: 1–1.5 hours
This is THE project to start with. Not because it's spectacular — but because it teaches you the two fundamental DIY skills: drilling into a wall and fixing something to it. Once you can do that, you can handle 80% of household DIY.
Materials:
- 1 wooden board (pine, oak, or MDF) — 60–90 cm long, 15–20 cm deep, 2 cm thick
- 2 decorative brackets (brass, matte black, or white — match your style)
- 4 wall plugs suited to your wall type (plasterboard, brick, or concrete)
- 4 screws (usually supplied with the wall plugs)
- 1 cordless drill-driver (the most useful investment you'll ever make — £35 from Lidl, £70 for a decent Bosch)
- 1 spirit level (or the free app on your phone)
- 1 tape measure
- 1 pencil
Steps:
- Identify your wall type — knock with your fist. Hollow sound = plasterboard (use cavity wall fixings). Solid sound = brick or concrete (use masonry plugs). This is THE question 90% of tutorials forget, and it's the one that trips up beginners
- Mark your drilling points — position the brackets on the wall at your desired height (140–160 cm from the floor for a decorative shelf). Use the spirit level. Mark through the bracket holes with your pencil
- Drill — use the right bit for your wall type (masonry = masonry bit with hammer mode, plasterboard = standard bit). Tap wall plugs in with a hammer
- Fix the brackets — screw firmly but don't overtighten
- Place the board on the brackets — screw up from underneath so the screws are invisible
Project 2 — Painting furniture without sanding: the magic of chalk paint

Difficulty: ★★☆☆☆ | Budget: £20–40 | Time: 3–4 hours (excluding drying)
Painting furniture delivers the biggest "wow" for the least effort. A tired IKEA chest of drawers, a charity shop bedside table, a grandmother's sideboard — one tin of paint and two hours of work transforms anything into a Pinterest-worthy piece.
The revolution is chalk paint. Unlike regular paint, it adheres directly to wood, melamine, metal, and even plastic — without sanding first. For a beginner, this changes everything: you skip the most tedious and messy step of the process.
Steps:
- Clean the furniture — warm water + washing-up liquid + sponge. Dry completely. That's all the "sanding" chalk paint needs
- Remove handles — this is your chance to upgrade them (brushed brass handles transform IKEA furniture into designer pieces, for £2.50 each)
- First coat — roller on flat surfaces, brush in corners. Thin, even coat. Dry for 2 hours
- Second coat — same process. Two coats are enough with good chalk paint
- Wax or varnish finish — apply with a cotton cloth in circular motions. Protects and gives a silky touch
- Attach new handles — the detail that makes all the difference
Project 3 — The perfect gallery wall: the foolproof method
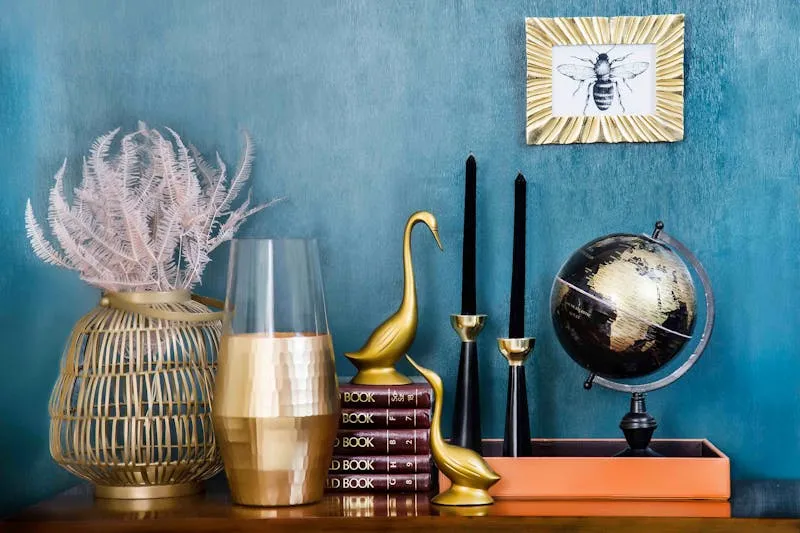
Difficulty: ★★☆☆☆ | Budget: £15–50 | Time: 2 hours
The gallery wall — that curated arrangement of frames that looks so effortless on Instagram — seems complicated but relies on one simple method that professional decorators all use: the kraft paper technique.
The method:
- Cut paper templates — lay each frame on kraft paper (or paper bags, or A3 sheets) and trace the outline. Cut out. Mark the nail/hook position on each paper template
- Compose on the floor — arrange your paper templates on the floor trying different layouts. Golden rule: 5–7 cm spacing between frames, and an imaginary horizon line at eye level (about 150 cm)
- Transfer to wall — tape the paper templates to the wall with masking tape. Step back, check, adjust. The beauty of this method: you can move templates 15 times without making a single hole
- Nail through the paper — once you're happy with the layout, hammer nails or hooks directly through the marks on the paper. Remove the paper. Hang the frames
Composition rules:
- Odd numbers — 5, 7, or 9 frames work better visually than 4, 6, or 8
- Mix sizes — 1 large central frame + 2–3 medium + 2–3 small. Never all the same size
- Style unity — all black frames (minimalist), all natural wood (bohemian), or a controlled mix of two materials maximum
- One surprise element — a round mirror among the frames, an empty frame, or a small object mounted on the wall. It breaks the monotony
Project 4 — The entryway coat rack
Difficulty: ★★☆☆☆ | Budget: £12–20 | Time: 1 hour
A plank of raw wood (oak, pine, or even a piece of driftwood), 4 or 5 hooks screwed into it, the whole thing mounted on the wall. It's a one-hour project that solves the eternal cluttered entryway problem — with a rustic-chic quality that an £8 IKEA hook rail will never have.
The design twist: use a raw wood plank with bark still visible on one edge. Sand lightly (120 grit, 5 minutes), apply a coat of matt varnish or linseed oil, and screw in brushed brass hooks spaced 15 cm apart. Result: an object that looks like it came from a £75 design shop, made at home for £16.
Project 5 — The wooden slat headboard
Difficulty: ★★★☆☆ | Budget: £35–60 | Time: 3–4 hours
The vertical wooden slat headboard is the project that impresses guests most — and is actually very accessible. The concept: wooden battens (square or half-round profile) fixed vertically on the wall, side by side, behind the bed.
The secret: you don't even need to drill if your wall is clean and smooth. High-performance mounting adhesive (No More Nails, Gorilla Grab, or similar) holds wooden battens perfectly well. Sand the battens lightly, apply your chosen stain or oil, let dry, then glue them vertically to the wall with regular 1–2 cm spacing. The result is spectacular — and completely reversible (the adhesive comes off with a heat gun if you move).
Project 6 — The wooden balcony planter

Difficulty: ★★★☆☆ | Budget: £12–30 | Time: 2–3 hours
This project is the first one involving wood cutting — and it's less terrifying than it sounds. If you don't have a saw, most DIY stores offer free cutting services (B&Q, Wickes): you arrive with your dimensions, they cut, you leave with boards ready to assemble.
The simplest model: an open box made from pine boards, 60 cm long, 20 cm wide, 20 cm deep. Four boards for the sides, one for the base (with drainage holes drilled in it), assembled with wood screws. Sand, apply exterior wood stain or linseed oil (moisture protection), and you have a planter that will last 5 years minimum.
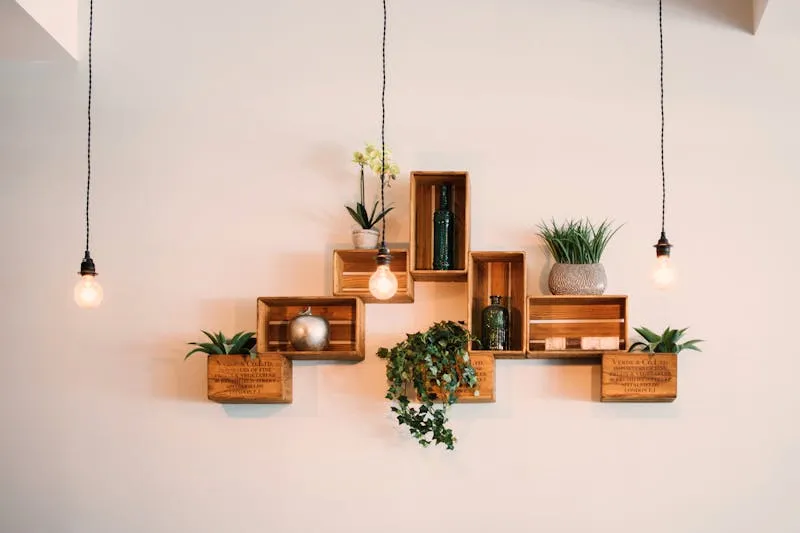
Project 7 — The rope-wrapped pendant light
Difficulty: ★★☆☆☆ | Budget: £8–15 | Time: 1.5 hours
Got a basic IKEA paper lantern or a bare metal lampshade frame? Transform it into a bohemian statement piece by wrapping it in jute rope, natural raffia, or cotton macramé cord. It's purely decorative, needs no tools beyond a hot glue gun (£6), and the result screams "artisan design shop."
Method: start at the bottom of the shade. Fix the rope end with a dot of hot glue. Wind in a tight spiral upward, adding a glue dot every 10 cm to secure. When you reach the top, cut and fix. Variation: leave gaps between the rows for an "airy" effect that lets light through in stripes.
Project 8 — The rope-framed round mirror
Difficulty: ★★☆☆☆ | Budget: £12–20 | Time: 1 hour
Round mirrors framed in jute rope or rattan are everywhere in interiors magazines — at £65–120 in shops. You can get exactly the same result for £15: a basic round mirror (IKEA sells them for £4), thick jute rope (10mm, 5m is enough), and a hot glue gun.
Glue the rope in a spiral around the mirror frame, layering 3–5 rows to build thickness. Add a loop at the top for hanging. This is a Netflix-compatible project: you can do it in front of a series, one episode = one finished mirror.
Project 9 — The entryway bench: your first "real" piece of furniture
Difficulty: ★★★★☆ | Budget: £30–50 | Time: 4–5 hours
This is the most ambitious project on this list — but if you've already completed 2–3 of the previous ones, you're ready. An entryway bench is fundamentally a horizontal board (the seat) placed on 4 legs. It's basic DIY dressed up as carpentry.
The clever shortcut: buy the legs ready-made. Tapered wooden legs (Scandinavian style), hairpin legs (industrial style), or metal trapezoid legs sell for £15–22 per set of four on Amazon or in DIY stores. They attach with 4 screws each. The seat: a raw pine board 100×30 cm, 3 cm thick, sanded and oiled. Total budget: £35–48. Result: a bench you'd see at West Elm for £150.
Project 10 — Bathroom wall storage

Difficulty: ★★☆☆☆ | Budget: £8–15 | Time: 1 hour
The bathroom is where lack of storage is felt most acutely — and where a simple DIY solution fixes everything. Two options that work every time:
Option A — The repurposed spice rack: IKEA BEKVÄM spice racks (£4 each) mounted on the bathroom wall become storage for bottles, brushes, and accessories. Paint them white or black, mount them in a column, and you have wall storage for £12 that looks like designer bathroom furniture.
Option B — The wall-hung basket: a wicker or wire basket fixed to the wall with two screws. It's the most Instagrammable storage solution on this list — and the quickest to make (20 minutes).
Frequently asked questions about beginner DIY
What's the first tool to buy when you have nothing?
A cordless drill-driver. It's the tool used in 90% of projects: drilling holes, driving screws, and even sanding (with an adapter). Entry-level models (Bosch EasyDrill, Black+Decker 12V, or Parkside from Lidl) cost £35–70 and are more than enough for household DIY. Don't buy a hammer drill to start — you only need one for masonry, and most modern walls are plasterboard.
How do I know what type of wall I'm drilling into?
Knock with your fist. Hollow, light sound = plasterboard (use cavity fixings or toggle bolts). Solid, dull sound = brick or concrete (use masonry plugs and a masonry bit with hammer mode). Something in between = hollow brick (use universal plugs like Fischer Duopower). When in doubt, Fischer Duopower plugs work in all wall types — they're the universal fix.
I'm scared of drilling into a pipe or electrical cable — is that possible?
It's a legitimate fear. To avoid it: electrical cables run vertically from sockets and switches, or horizontally 30 cm below the ceiling (per wiring regulations). Avoid drilling within 20 cm of a socket or switch, directly above or below. For pipes: they generally run through kitchen and bathroom walls, not living room partitions. If you want 100% certainty, a stud/cable/pipe detector (£18–25) is a worthwhile investment — or borrow one.
Can mounting adhesive replace screws?
For light loads (under 5 kg) on a clean, smooth wall: yes. Products like No More Nails or Gorilla Grab adhesive hold remarkably well. For heavy loads (bookshelves, wall-mounted furniture, heavy mirrors): no. Screws and wall plugs remain essential. Adhesive is a complement, not a substitute — except for decorative battens, mouldings, and purely aesthetic elements.
How do I avoid starting Pinterest projects I never finish?
Three rules: (1) only start projects you can complete in a single session (projects spread across multiple weekends rarely get finished), (2) buy ALL materials before you begin ("I'll finish when I've bought more paint" = guaranteed abandonment), (3) start with small, visible projects — a shelf in the living room rather than a walk-in wardrobe. The dopamine hit from quick success gives you momentum for bigger projects later.
Sources and references
- B&Q — DIY Tutorials and Project Guides for Beginners
- Homebase — Step-by-Step Home Improvement Guides
- This Old House — Beginner-Friendly DIY Projects and Expert Tips
- IET Wiring Regulations (BS 7671) — Electrical installation standards